Verpex Web Hosting Review- Setting Up Verpex Hosting
Welcome to your ultimate guide on setting up Verpex web hosting review! This step-by-step tutorial will walk you through everything you need to know, from understanding the features of Verpex to installing WordPress on your new hosting account.
Why Choose Verpex Hosting?
Before we get into the setup process, let’s discuss why Verpex is a solid choice for web hosting. Verpex is recognized as a market leader in web hosting, offering various plans to suit different needs. Whether you’re looking for shared hosting, cloud hosting, WordPress hosting, or managed servers, Verpex caters to all. Their pricing is competitive, making it one of the most affordable options available without compromising quality.
Related: WP Rocket Review
One standout feature of Verpex is their impressive customer reviews. With a rating of 4.8 out of 5 on Trustpilot, you can read through real customer experiences that highlight the reliability and quality of their services. Additionally, Verpex prioritizes security, providing comprehensive solutions such as natural monitoring, technical support, data backups, DDoS protection, SSL certificates, and malware detection/removal.
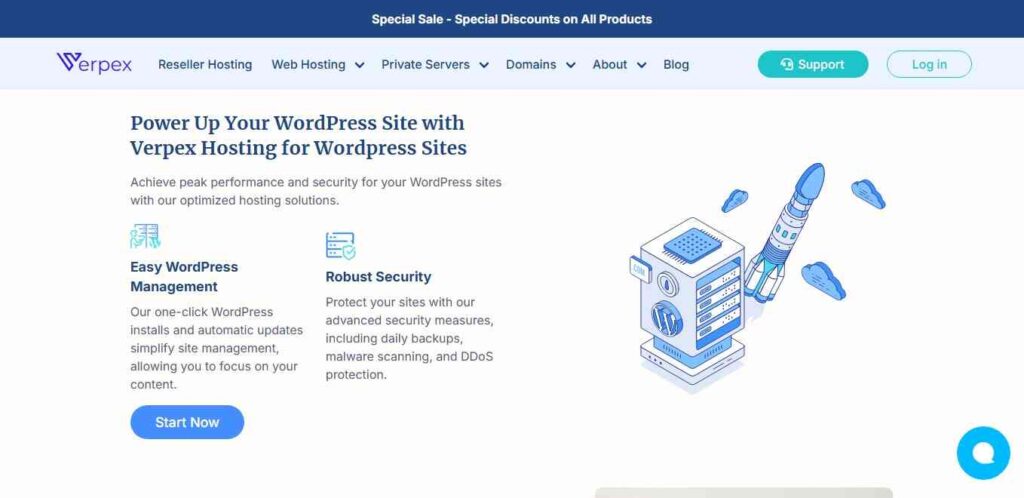
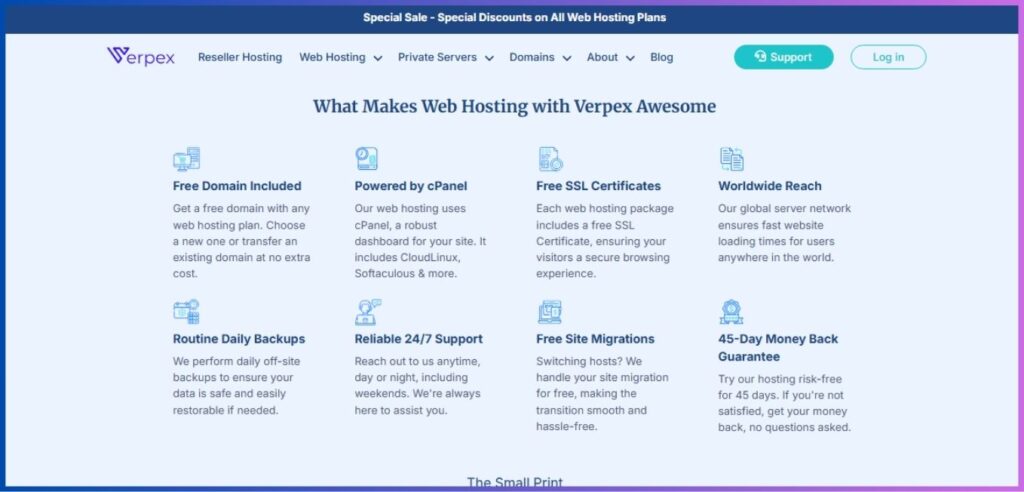
Verpex Hosting Features
Verpex offers several attractive features that make it suitable for beginners and experienced users alike:
- Free Domain Name: Every hosting package includes a free domain name.
- cPanel: Access to a user-friendly cPanel for easy management.
- Free SSL Certificate: Ensures your website is secure.
- Daily Backups: Keeps your data safe and recoverable.
- Free Site Migration: Hassle-free transition from your old host.
- 45-Day Money-Back Guarantee: Try Verpex risk-free.
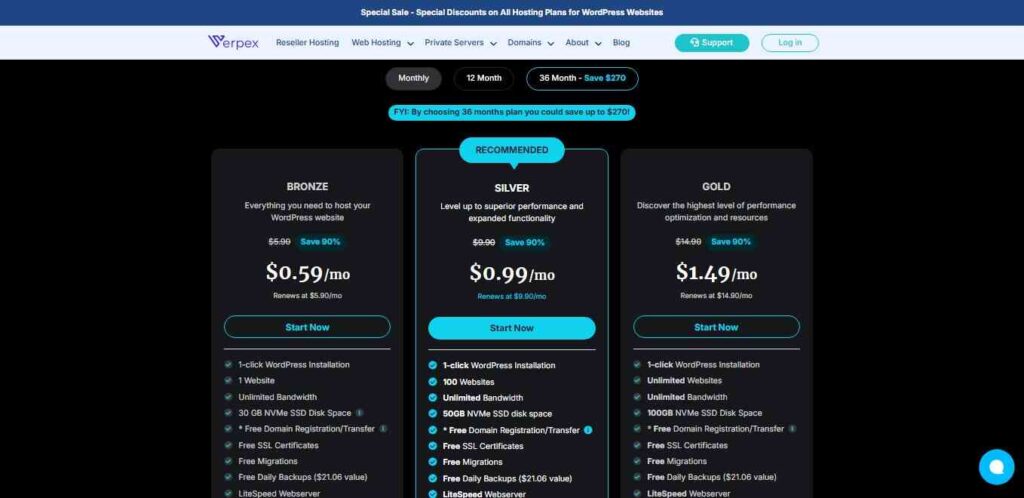
Choosing the Right Hosting Plan
Among the various hosting plans, the Silver Plan is particularly popular. It allows you to host multiple websites with unlimited bandwidth and 50 GB of SSD storage. This package is perfect for those just starting out, as it provides all the necessary resources without breaking the bank.
Related: Verpex Reseller Hosting Review
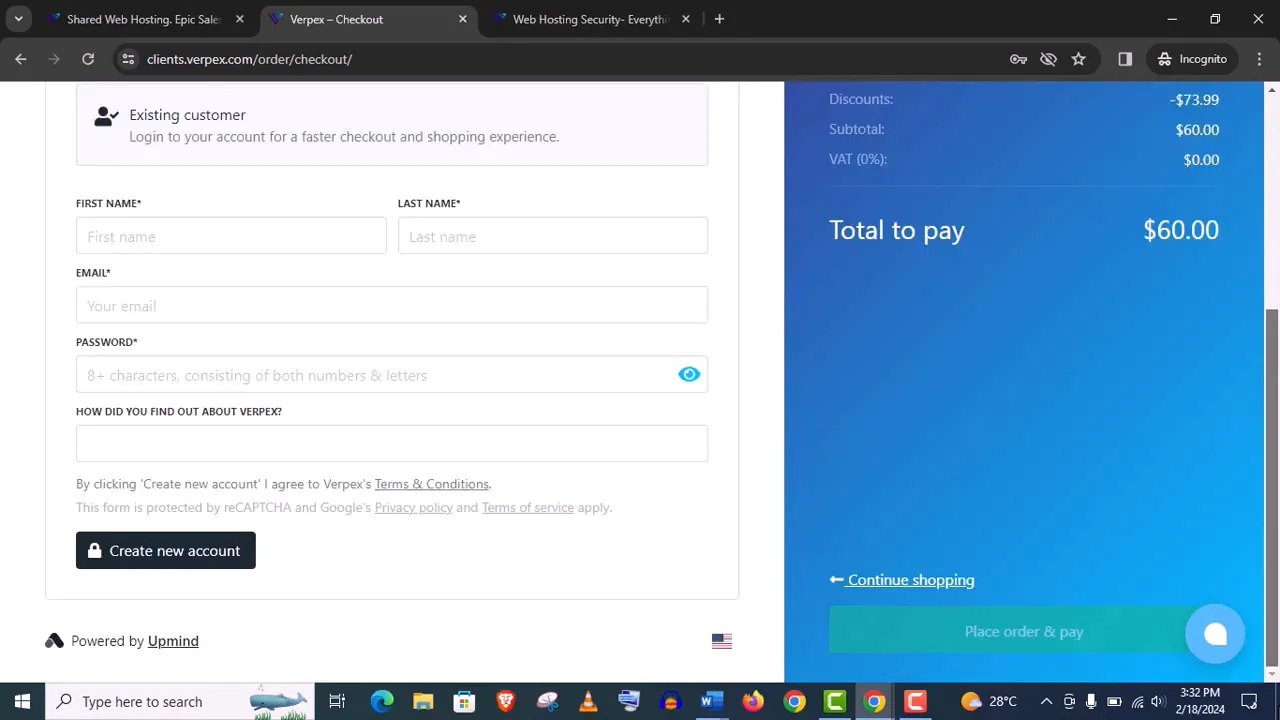
How to Purchase Verpex Hosting
Let’s walk through the process of purchasing your Verpex hosting plan. Follow these steps:
- Click on the “Start Now” option on the Verpex website.
- Select your desired server and hosting package.
- Choose your free domain name option, which is included with the hosting plan.
- Check for any discount codes that may apply automatically during checkout.
Setting Up Your Verpex Hosting Account
After completing the sign-up process, you will receive your login credentials via email. Log in to your Verpex dashboard, which features a user-friendly interface. Here’s how to set up your account:
- Navigate to the “Products and Services” section.
- Click on “Domains” to view your domain details.
- Verify that the name servers are automatically updated since your hosting and domain are from Verpex.
- Access the “Hosting” section and log in to your control panel.
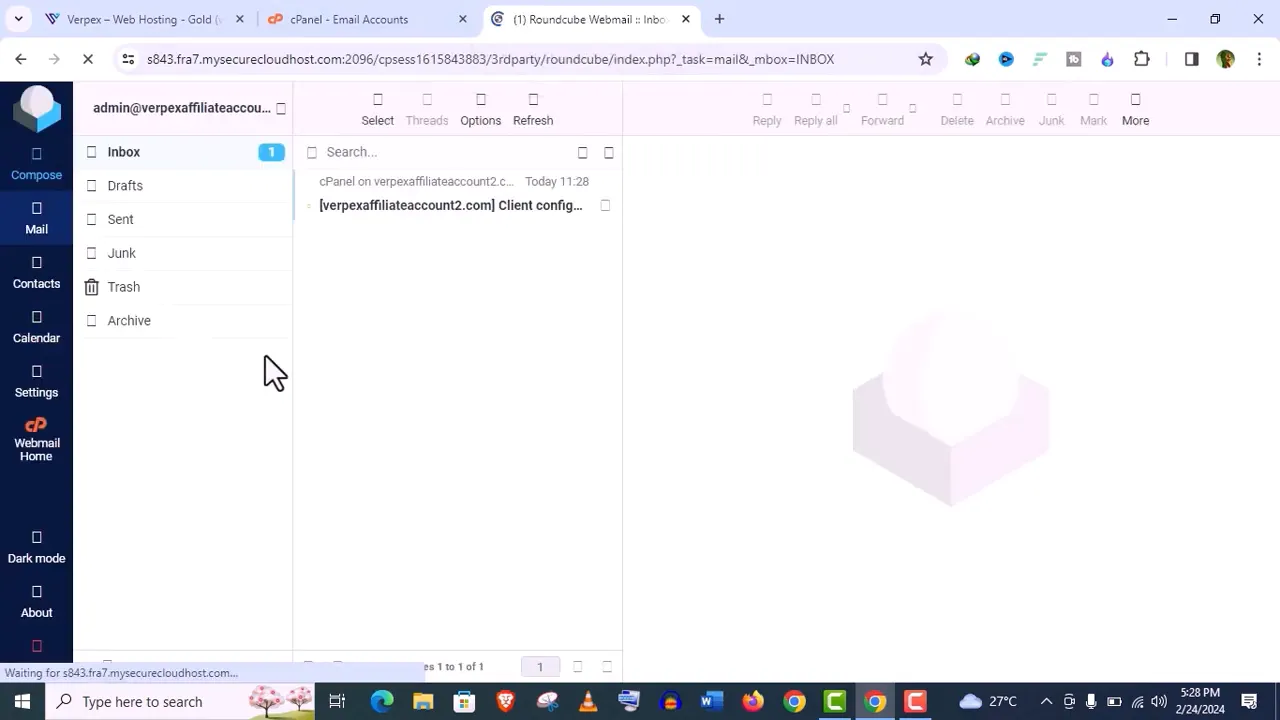
Creating an Email Account
Having a professional email address is essential. Here’s how to create one:
- In the cPanel, locate the “Email Accounts” section.
- Input your desired username and password, and set storage limits as needed.
- Click “Create” to set up your email account.
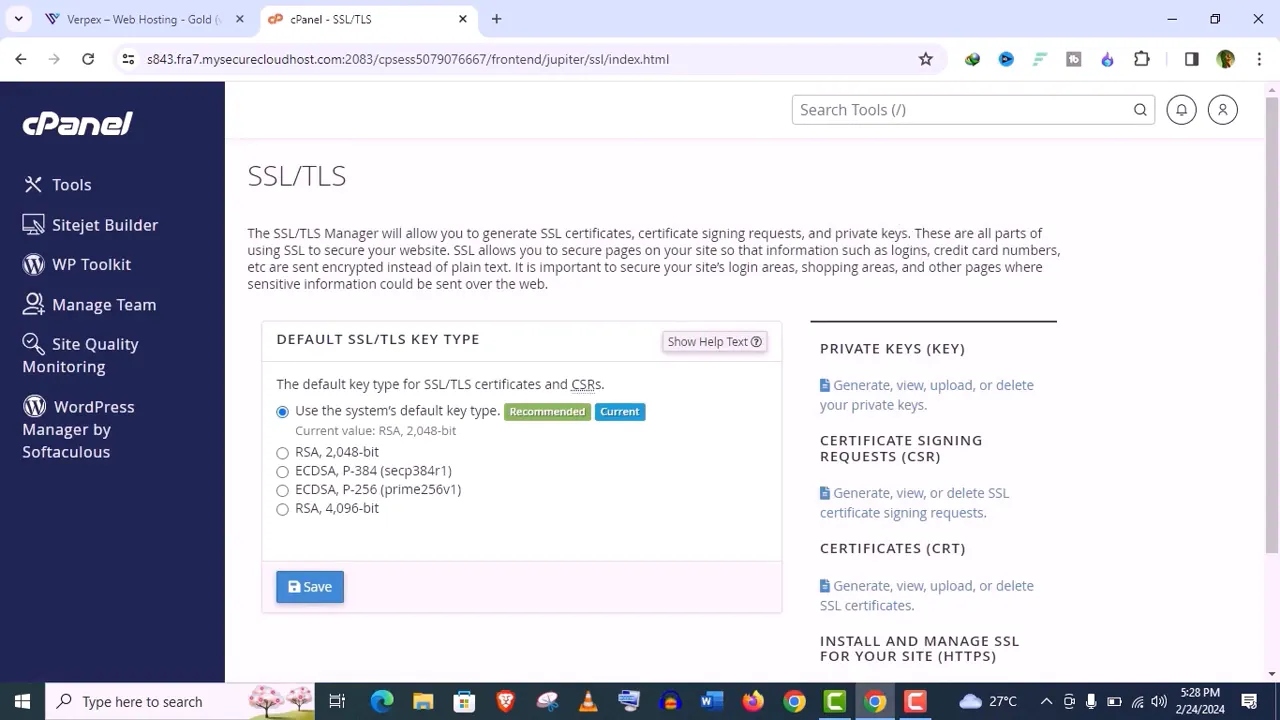
Installing an SSL Certificate
To secure your domain, you need to install an SSL certificate. Follow these steps:
- In the cPanel, go to the “SSL” section.
- Select the recommended default type and click “Save.”
- Check the SSL installation status to confirm it’s active.
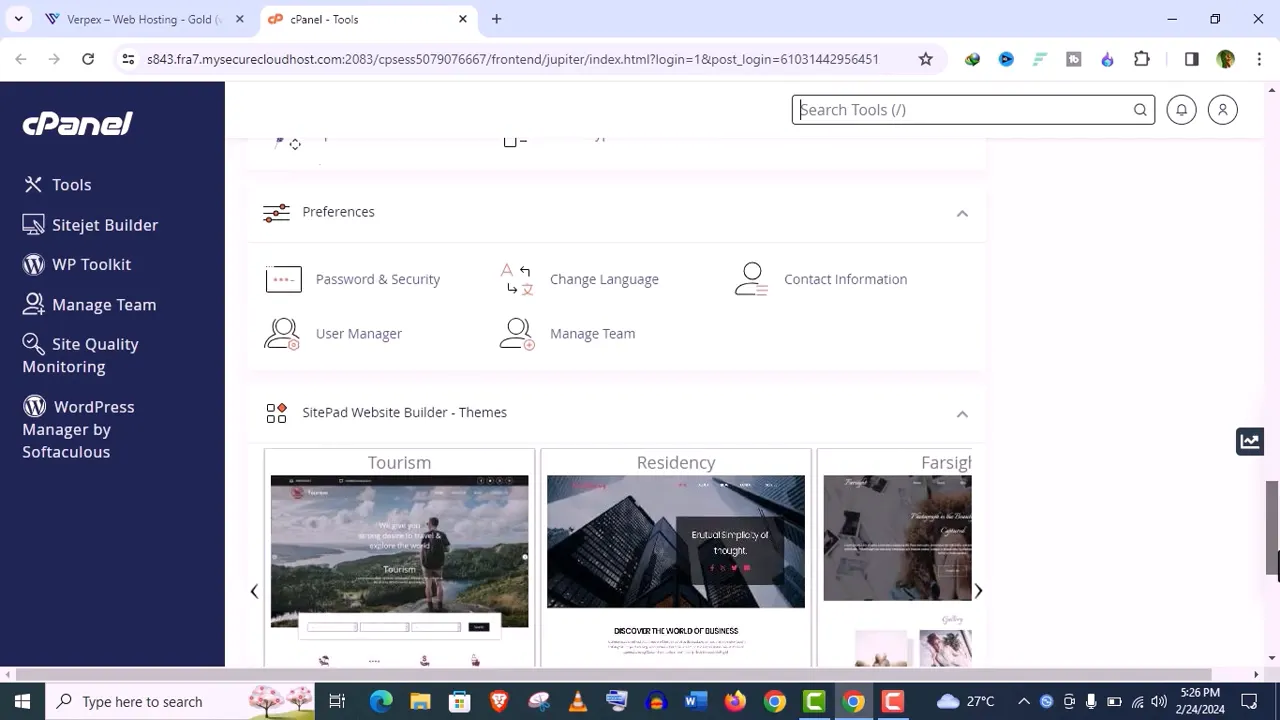
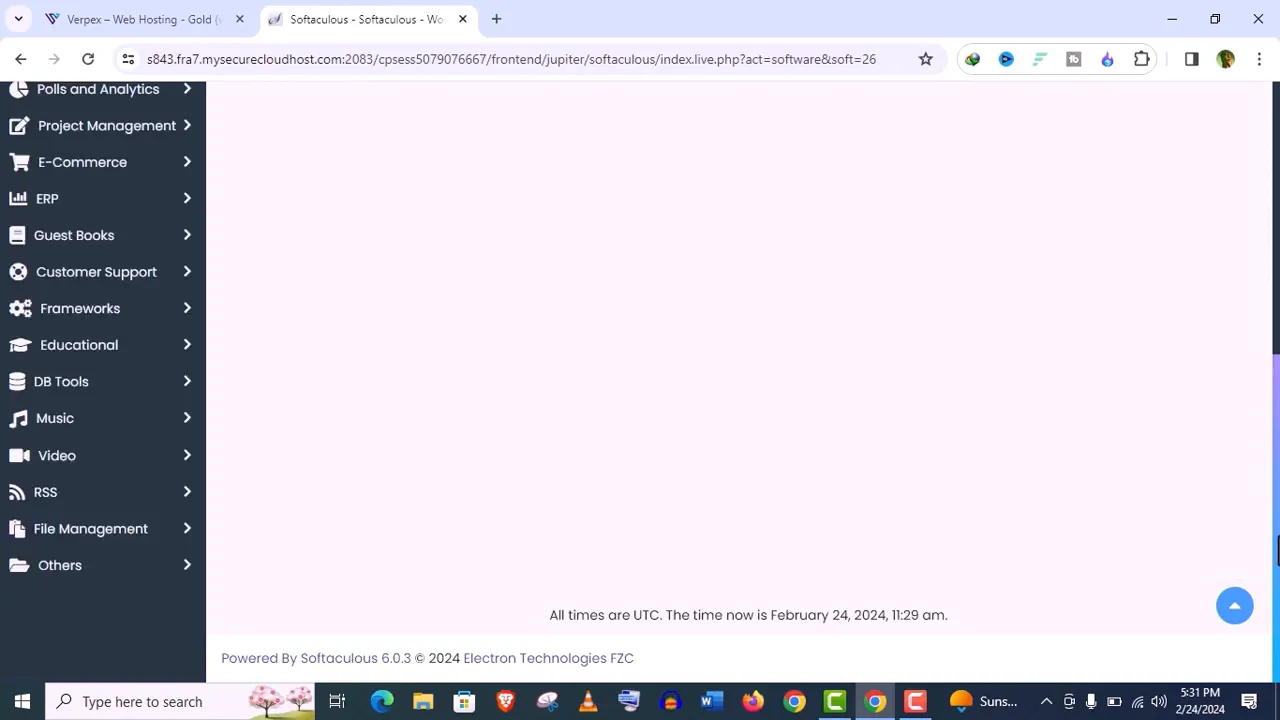
Installing WordPress
Now that your hosting account is set up, let’s install WordPress. Here’s how:
- In the cPanel, find the “Softaculous Apps Installer” or “WordPress” section.
- Choose the WordPress installation option and select your domain.
- Fill out the necessary fields, including admin email and site name.
- Click “Install” and wait a few moments for the installation to complete.
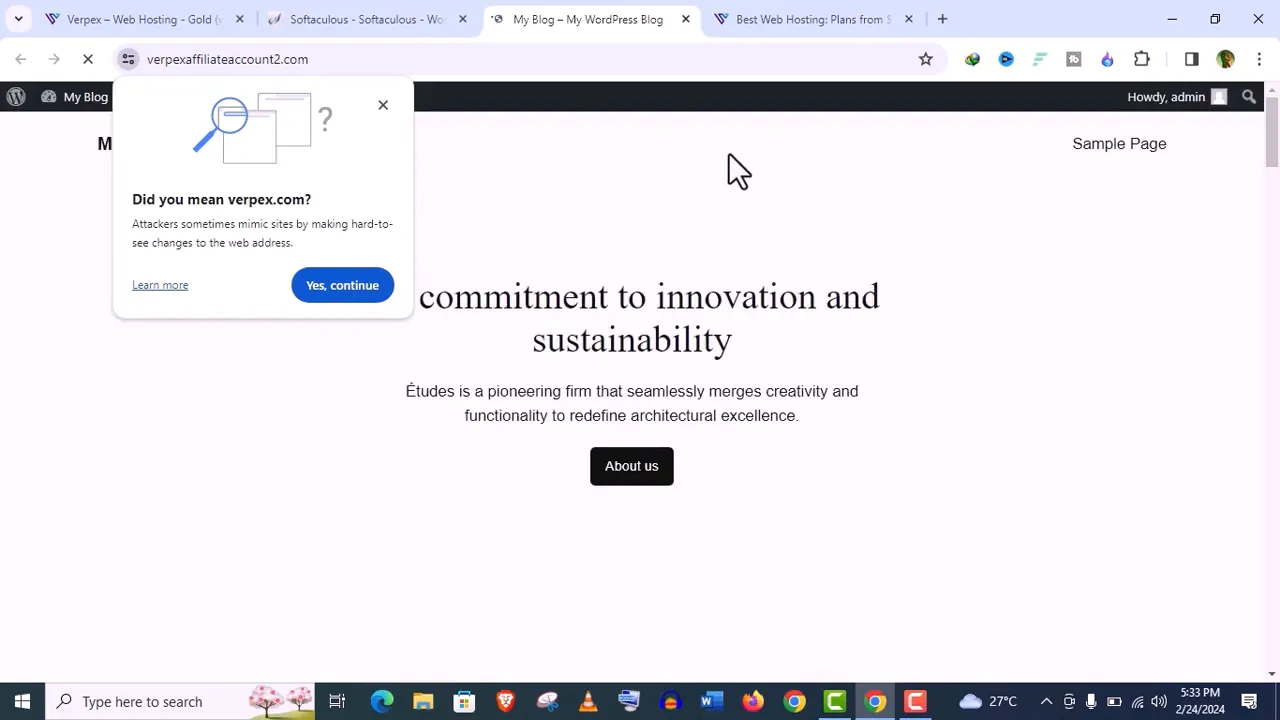
Accessing Your WordPress Dashboard
Once WordPress is installed, you will receive two URLs: one for your website and one for the WordPress dashboard. Log in to your dashboard using the credentials provided during installation. This is where you can manage your website’s content and settings.
Related: Verpex vs Cloudways
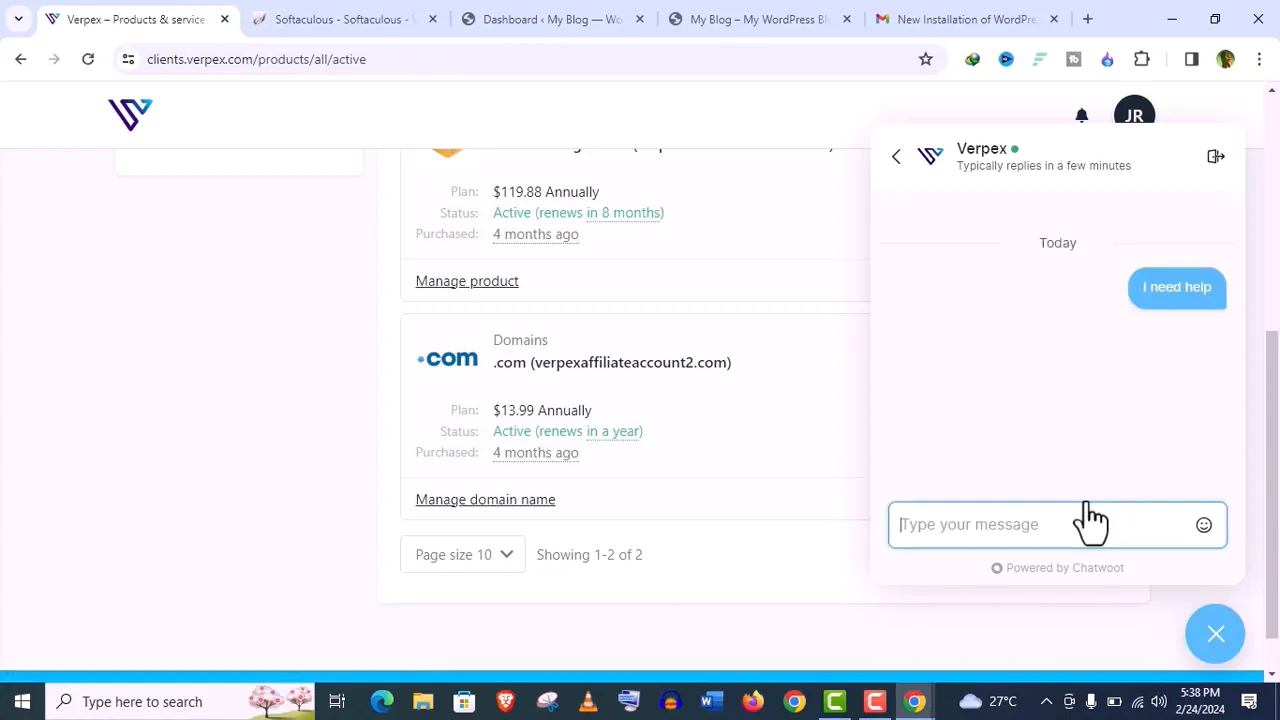
Getting Support from Verpex
If you encounter any challenges during setup, Verpex offers excellent support options. You can create a support ticket or chat live with their customer service team. Users report quick response times, often connecting with a support agent within minutes.
Final Thoughts
Verpex hosting provides a reliable and affordable solution for anyone looking to establish an online presence. With their robust features, excellent customer support, and easy setup process, you can trust Verpex to meet your web hosting needs. If you haven’t subscribed to our channel yet, please do so to stay updated with more helpful tutorials!
Disclosure: We may earn commission for purchases that are made by visitors on this site at no additional cost on your end. All information is for educational purposes and is not intended for financial advice. Read our affiliate disclosure.