Solar Inverter Installation Tips for Maximum Energy Production
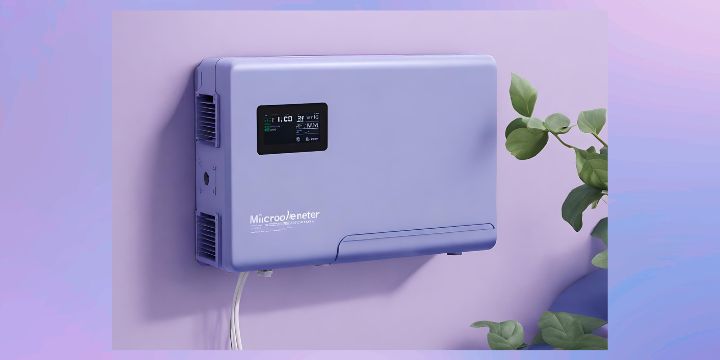
As a solar panel system owner, ensuring your solar inverter is properly installed and maintained is critical to maximizing your energy production and return on investment. The inverter is the brains of your solar system, converting the DC power from your solar panels into usable AC power for your home.
Improper solar inverter installation or lack of maintenance can significantly reduce energy output and threaten the longevity of this key component. By following best practices for inverter placement, wiring, and care, you’ll keep your solar inverter working efficiently for years to come.
In this article, we will walk you through the steps to install a solar inverter for optimal performance and provide tips to keep it running in top condition.
Reliable Power Anywhere
Experience the freedom of portable power with Bluetti's cutting-edge solar generators and power stations. Whether you're camping, preparing for emergencies, or reducing your reliance on the grid, Bluetti offers reliable, eco-friendly solutions that keep you powered up anywhere.
Explore Bluetti Products NowChoosing the Right Location for Solar Inverter Installation
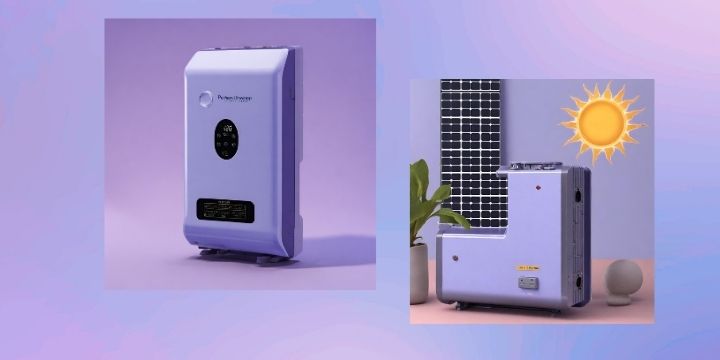
The ideal location for your solar inverter installation is a shaded area with proper ventilation, away from direct sunlight exposure. Installing the inverter indoors in a garage, basement, or utility closet is convenient and helps maximize the system’s energy production and the inverter’s lifespan.
Choosing an Indoor Location
When installing the inverter indoors, select an area that remains within the inverter’s recommended temperature range. The inverter should be placed in an open space that allows for sufficient airflow and heat dissipation.
Avoid cramped, poorly ventilated areas. An attached garage or basement are good options as they are often cooler than living spaces.
Considering an Outdoor Location
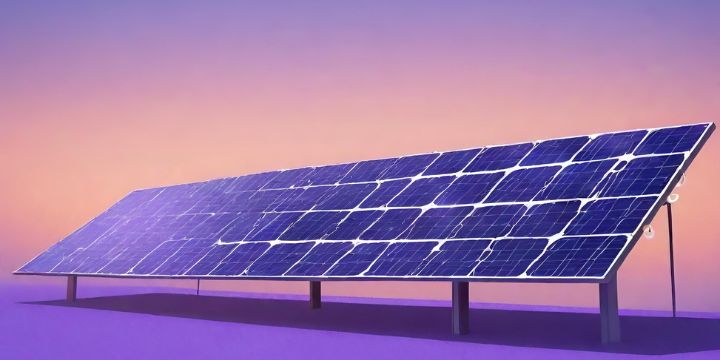
If installing outdoors, choose a shaded area that protects the inverter from excessive heat and UV radiation, which can reduce its efficiency and shorten its lifespan.
Go Green with Bluetti
Take a step towards sustainability with Bluetti’s advanced solar technology. From high-capacity power banks to efficient solar panels, Bluetti helps you harness the power of the sun to reduce your carbon footprint without compromising on performance.
Shop Sustainable Power SolutionsA covered patio, carport, or the shady side of the house are suitable locations. The inverter must be properly grounded and its enclosure rated for outdoor use. Conduit should be used to protect wires from weather and pests.
Regular maintenance like inspecting for damage or leaks and clearing the inverter of dirt and debris is especially important for outdoor installations.
For optimal performance and the greatest energy production from your solar panel system, install the solar inverter in a suitable indoor or outdoor location away from direct sunlight.
Step-by-Step Guide to Solar Inverter Installation
To maximize energy production from your solar inverter, proper installation is key. The following steps will guide you through connecting the inverter to your photovoltaic (PV) system:
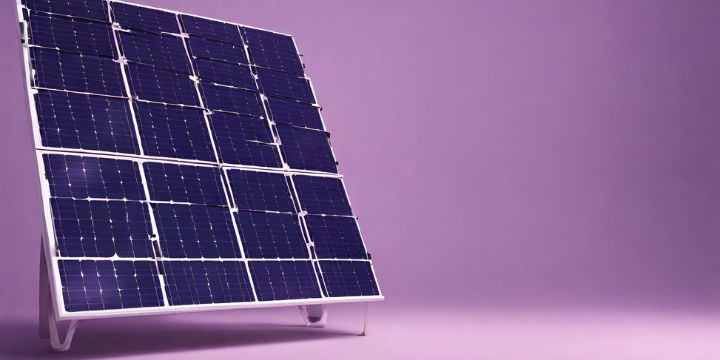
Step 1: Install the PV system
The first step is to install solar panels, power optimizers, and inverters. Ensure all components are securely mounted and properly grounded before moving on to wiring.
Step 2: Connect the inverter to the PV system
The inverter should be connected to the PV system according to the wiring diagram provided. Typically, the inverter is connected to the power optimizers which are in turn connected to the solar panels. Double-check that all wires are securely connected and properly insulated.
Step 3: Connect the inverter to your home’s electrical system
Once the inverter is connected to the PV system, it needs to be connected to your home’s main electrical service panel to provide power to your home. This should be done by a certified electrician to ensure it meets all electrical codes and safety standards.
The electrician will connect the inverter to your main service panel, allowing the inverter to power parts of your home directly and excess energy to be exported to the grid.
Power Your Adventures
Don't let power outages or off-grid adventures slow you down! Bluetti's portable solar-powered solutions are designed for convenience and efficiency, making them the perfect companion for any lifestyle.
Discover Bluetti's Portable PowerStep 4: Startup and test the inverter
With all connections made, start-up and test your inverter to ensure it is functioning properly according to the manufacturer’s recommendations. Check that the inverter display is active and showing energy production before commissioning the system.
Your system should now be producing energy to power your home and maximize savings on your utility bills for years to come.
Following these steps carefully will allow for the safe and effective installation of your solar inverter, enabling maximum energy production from your PV system. Be sure to contact a professional if you have any questions or concerns regarding installation.
Connecting Your Solar Inverter to the Utility Grid
Connecting your solar inverter to your home’s utility grid is a crucial step to harnessing solar energy. To connect the inverter properly:
Inverter Location
Place your inverter in an area that is dry, well-ventilated, and close to your main service panel. The inverter should be installed at eye level for easy access and monitoring. Ensure the area is free of flammable gasses and chemicals.
Grounding
Ground your inverter according to the manufacturer’s specifications and local electrical codes. The grounding conductor helps prevent electric shock if a fault occurs.
AC Disconnect
Install an AC disconnect switch between the inverter and the main service panel. This allows the inverter to be disconnected for maintenance or during a power outage. The AC disconnect must be properly rated for the inverter’s maximum output.
Inverter Wiring
Wire your inverter directly to your main service panel, not a sub-panel. Use wire that is properly rated for the inverter’s maximum current. Connect the inverter’s AC output to a dedicated circuit breaker in your main service panel.
Meter Installation
In many areas, the utility company will install a second meter, called a net energy meter, to measure the energy exported to the grid. They may also replace your existing meter with a smart meter to monitor energy flow.
Inspection and Approval
Have your inverter and wiring installation inspected by the local utility, an electrical inspector, or both before operating the system. Do not turn on your inverter until you have received official approval.
With the inverter properly connected, your solar PV system can operate as intended, harnessing energy from the sun and exporting excess power to the utility grid. Be sure to follow all recommendations from the inverter manufacturer and local utility regarding operation and maintenance to keep your system running efficiently.
Solar Inverter Maintenance Tips
To maximize energy production, properly maintaining your solar inverter is essential. Follow these tips to keep your inverter in working order:
Regularly Monitor Operating Temperature
It is important to routinely check that your inverter does not overheat, which can reduce its lifespan and efficiency. The inverter should remain below 104°F or 40°C. If it exceeds this temperature, ensure the inverter fans are functioning properly and clear away any debris blocking ventilation. You may also need to relocate the inverter to an area with better airflow.
Clean the Inverter Exterior
Accumulated dirt and dust on the inverter exterior should be wiped away regularly using a dry, lint-free cloth to prevent overheating and damage. For stuck-on debris, you can lightly dampen the cloth with water or a mild solvent.
Avoid using any harsh chemicals, abrasive cleaners, or solvents like kerosene which can degrade the inverter components.
Schedule Routine Maintenance Checks
Most solar inverter manufacturers recommend professional servicing every two years to ensure optimal performance. A technician will thoroughly clean and test all inverter components, calibrating and replacing parts as needed. They can also perform any necessary software or firmware updates to the latest versions.
Routine inverter maintenance and monitoring helps detect inverter issues early and prevents costly repairs or replacement down the road. Keeping your inverter in prime working condition will maximize its productive lifespan and the energy generated by your solar power system.
Troubleshooting Common Solar Inverter Problems
Faulty installation is one of the most common issues with solar inverters that can reduce energy production. Proper placement and connection of your inverter is key to maximizing its efficiency.
Overheating
Overheating is another frequent problem that may decrease inverter performance. Ensure adequate ventilation and heat dispersion around the unit. Do not install the inverter in an attic or other poorly ventilated area. Direct sunlight exposure should also be avoided.
Isolation Fault
An isolation fault occurs when the inverter loses connection to the power grid. This can happen if the inverter is not properly grounded. Double-check that all grounding cables are securely connected to the inverter, especially after initial installation. Fuses and circuit breakers should also be checked to confirm the inverter has a constant connection to the electrical system.
Additional Precautions
Take further measures to prevent inverter issues and ensure maximum energy generation:
Use the appropriate gauge wiring for connecting the inverter to your home’s electrical panel. Undersized wiring can overheat and cause electrical fires.
- Enable the inverter’s built-in surge protection to safeguard against power surges. Surge protection helps prevent damage to the inverter’s sensitive components.
- Schedule routine maintenance checks of the inverter, including inspections of all wiring and connections. Early detection of any issues will minimize downtime and lost energy production.
- Update the inverter’s firmware regularly to the latest version. Software updates often patch security vulnerabilities and improve performance.
- Keep the inverter exterior clean and free of debris buildup. While weather-resistant, excessive dirt and grime can still impact its ability to dissipate heat.
Following the installation instructions carefully and performing routine maintenance will help mitigate many common solar inverter problems. Take the necessary precautions to guarantee maximum, uninterrupted energy generation from your solar power system.
Conclusion
As you can see, properly installing and maintaining your solar inverter is critical to maximizing energy production from your solar panels. Following best practices for location, wiring, grounding, and monitoring your inverter will help ensure many years of efficient, reliable service.
While the installation process may seem complex, taking the time to do it right the first time will pay off through lower energy bills and a reduced environmental footprint.
Disclosure: We may earn commission for purchases that are made by visitors on this site at no additional cost on your end. All information is for educational purposes and is not intended for financial advice. Read our affiliate disclosure.