How to Create a WordPress Website with Elementor Hosting
Building a WordPress website can be an exciting journey. In this guide, we will walk through the process of how to create a WordPress website with Elementor Hosting. Whether you’re building a portfolio or a blog, the techniques discussed here can be applied to any type of website. Let’s dive in!
Step 1: Why Choose WordPress?
WordPress is the most popular website building platform, powering 43% of all websites worldwide. It offers versatility, a supportive global community, numerous plugins, themes, and templates. As an open-source platform, it provides full ownership and control over your content. Today, we’ll be using Elementor Hosting, which is an excellent choice for beginners.
Step 2: Understanding Hosting
Hosting is akin to renting space for your website’s files and media. While some hosting companies require you to install WordPress and additional services manually, Elementor Hosting provides everything pre-installed, making it perfect for beginners.
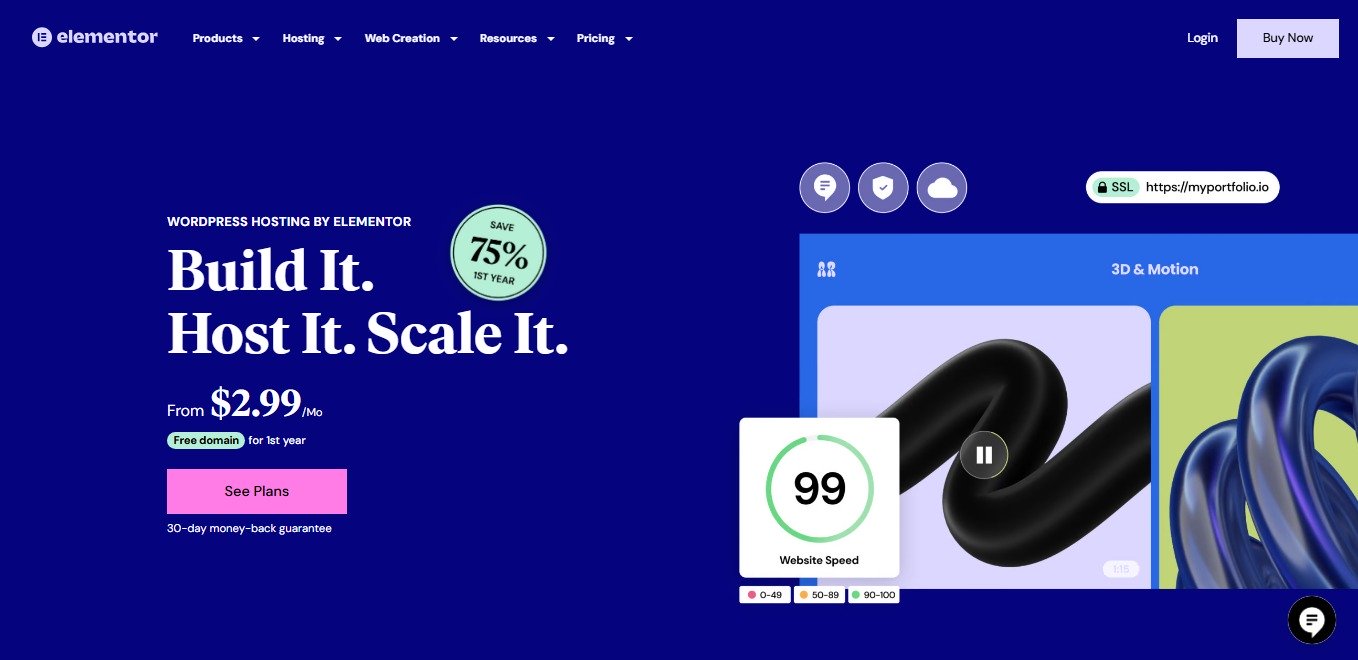
Elementor Hosting Pricing Plans
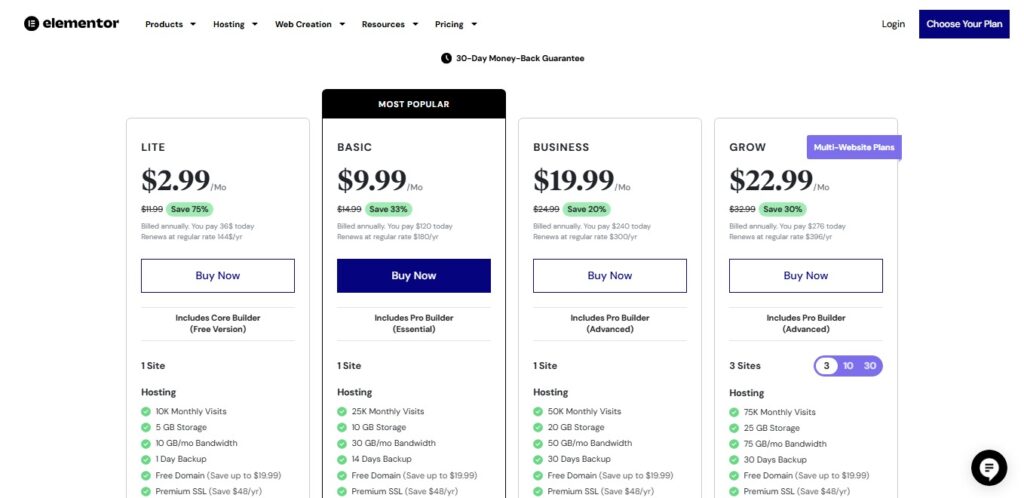
1. Lite Plan:
- Price: $2.99/month ($36 billed annually, renews at $144/year)
- Includes: Core Builder (Free Version), 1 Site, Hosting for 10K monthly visits, 5GB storage, 10GB/month bandwidth, 1-day backup, free domain, Premium SSL, Enterprise Cloudflare CDN, Standard Peak Optimization, Integrated Caching Tool, SFTP & DB Access, 32 Widgets, Responsive Designs, and 24/7 support for 1 member.
2. Basic Plan:
- Price: $9.99/month ($120 billed annually, renews at $180/year)
- Includes: Pro Builder (Essential), 1 Site, Hosting for 25K monthly visits, 10GB storage, 30GB/month bandwidth, 14-day backup, free domain, Premium SSL, Enterprise Cloudflare CDN, Standard Peak Optimization, Integrated Caching Tool, SFTP & DB Access, 89 Widgets, Form Builder, Dynamic Content, and 24/7 Premium Support for 1 member.
3. Business Plan:
- Price: $19.99/month ($240 billed annually, renews at $300/year)
- Includes: Pro Builder (Advanced), 1 Site, Hosting for 50K monthly visits, 20GB storage, 50GB/month bandwidth, 30-day backup, free domain, Premium SSL, Enterprise Cloudflare CDN, Advanced Peak Optimization, Staging Environment, 118 Widgets, Custom Code & CSS, Form & Popup Builder, Ecommerce Features, Dynamic Content, and 24/7 Premium Support for 2 members.
4. Grow Plan:
- Price: $22.99/month ($276 billed annually, renews at $396/year)
- Includes: Pro Builder (Advanced), 3 Sites, Hosting for 75K monthly visits, 25GB storage, 75GB/month bandwidth, 30-day backup, free domain, Premium SSL, Enterprise Cloudflare CDN, Advanced Peak Optimization, Staging Environment, Site Cloning, 118 Widgets, Custom Code & CSS, Form & Popup Builder, Ecommerce Features, Dynamic Content, and 24/7 Priority Support for 4 members.
Note: Prices exclude taxes, and all plans renew annually at the standard list price.
Step 3: Setting Up Your Elementor Hosting Account
To get started, visit Elementor.com and click on “Get Started.” You will be prompted to choose a design; however, we’ll skip that for now and start with a blank website.
On the purchase page, select your plan and complete the checkout process. Next, choose a name for your temporary domain and proceed. Once your site is ready, click “Let’s Go” to access the Elementor editor.
Step 4: Exploring the WordPress Dashboard
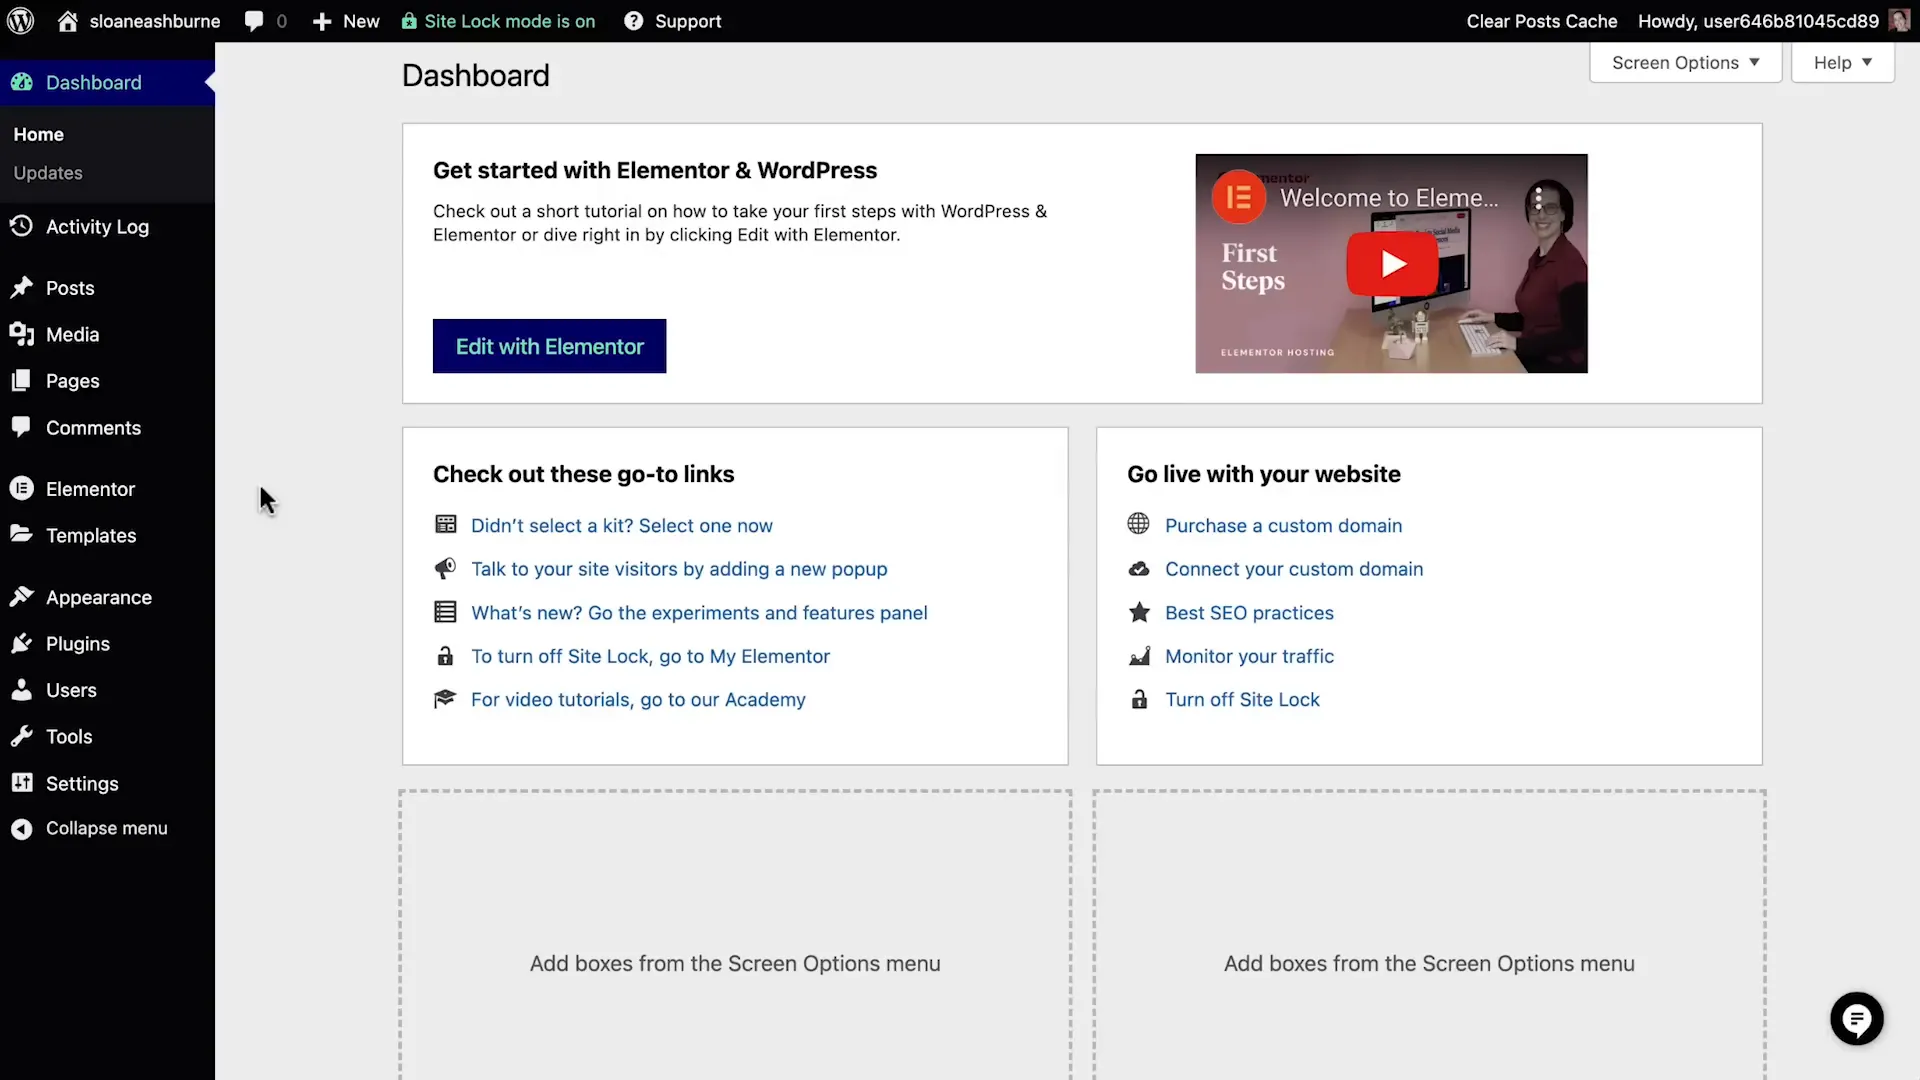
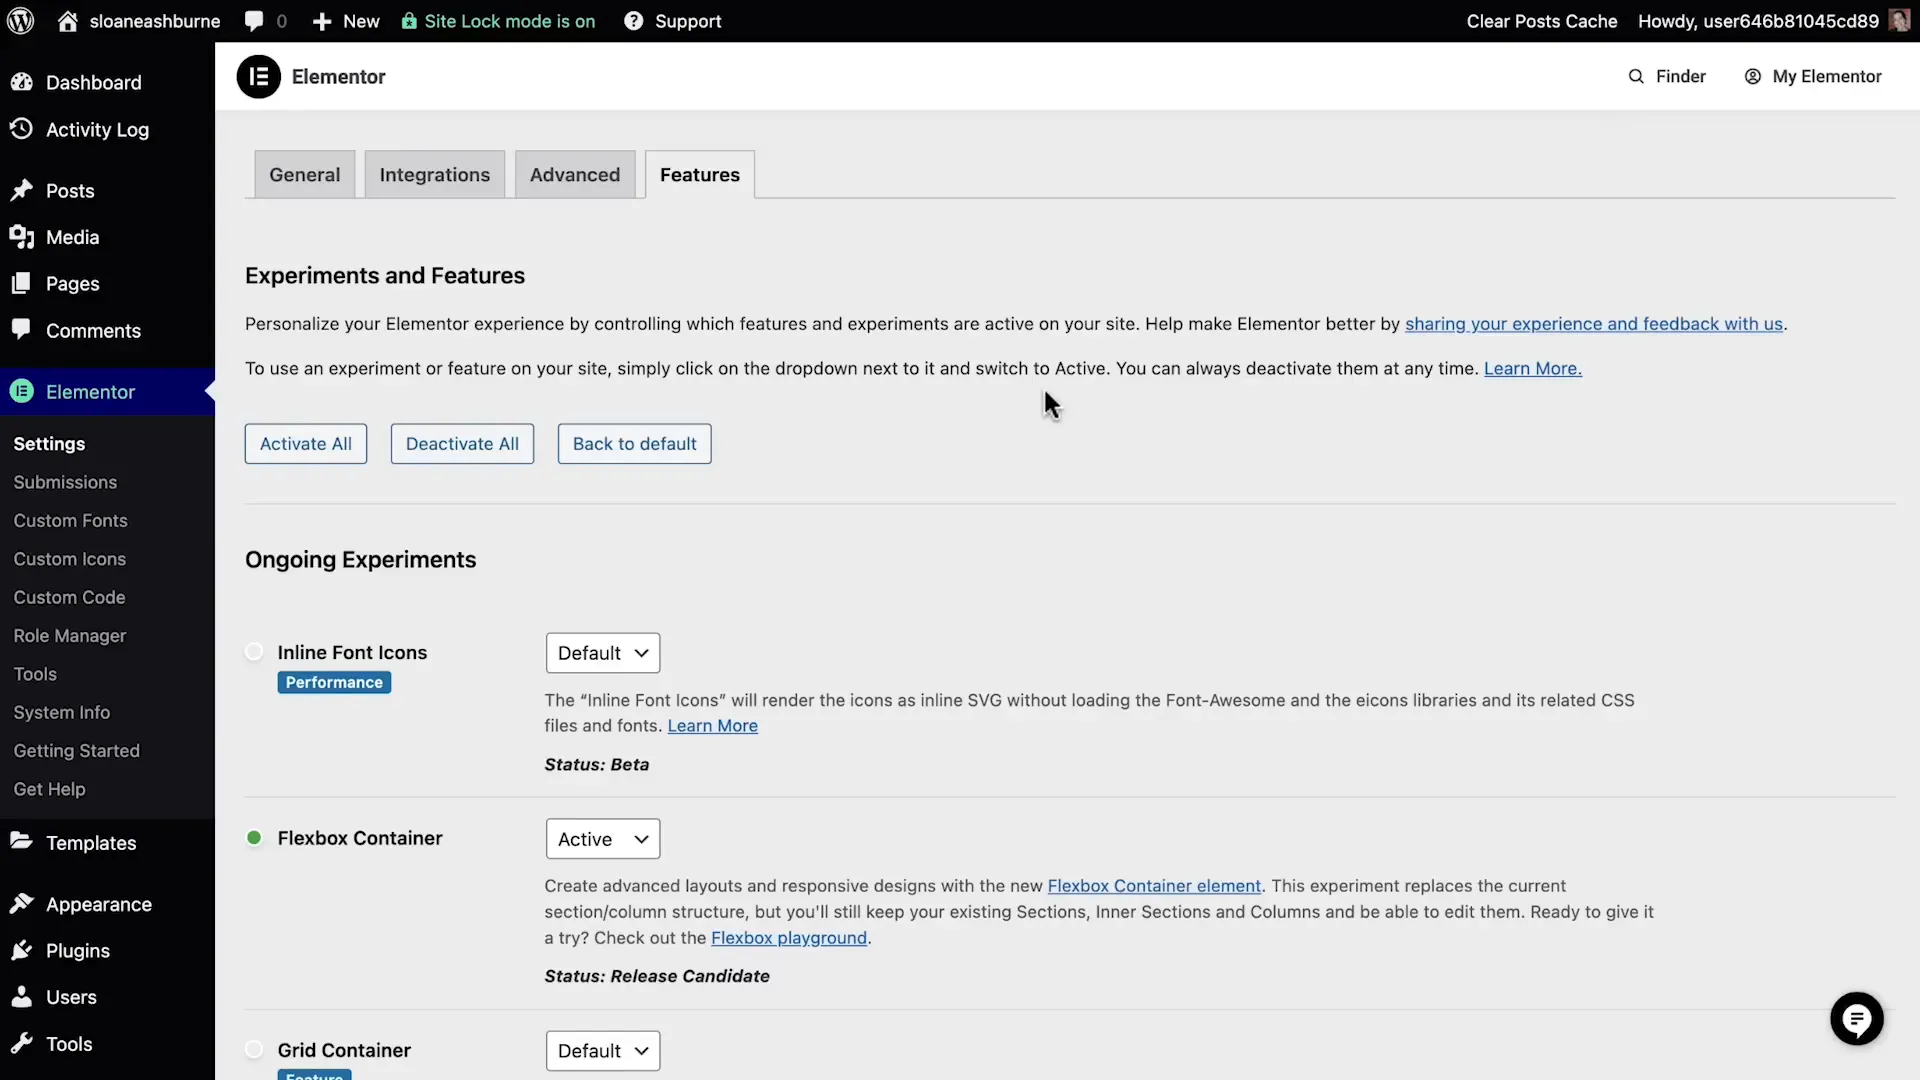
Upon accessing the dashboard, you will see various options and settings on the left panel. Before customizing your website, let’s enable a few essential Elementor features. Hover over Elementor, select settings, and click the features tab. Enable Flexbox containers, the editor top bar, nested elements, and menu options, then save your changes.
Step 5: Installing a Website Kit
Next, we will install a website kit. Navigate to the Templates Kit Library in the left panel. Here, you can browse and apply a collection of matching templates that will help you quickly create a full website. Choose a kit that fits your needs, apply it, and enable unfiltered file uploads to allow SVG files.
Step 6: Navigating the Elementor Editor
Welcome to the Elementor editor! The top bar provides quick access to settings. The left panel contains widgets for designing your website, while the right side displays the canvas where the website is built. The structure panel shows the layout of the current page.
Step 7: Editing Your Home Page
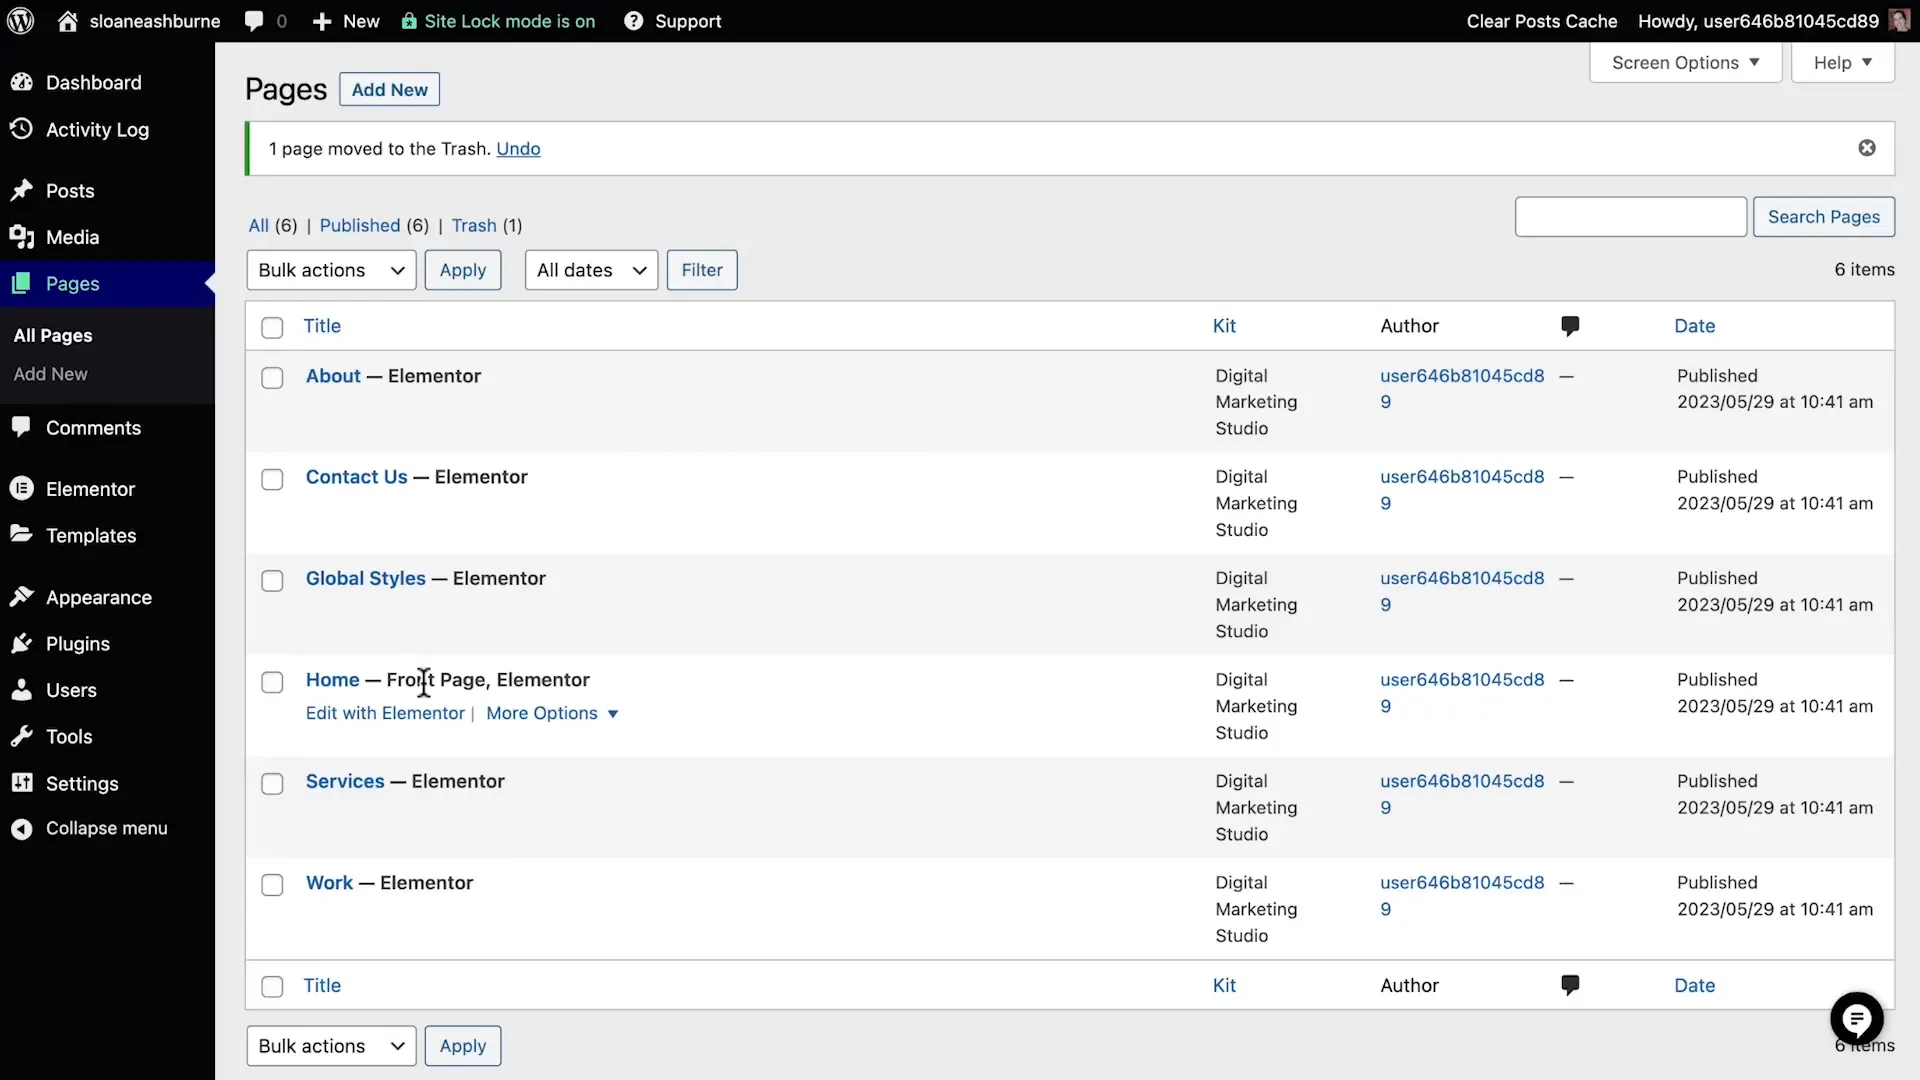
Let’s begin editing our home page by clicking “Edit with Elementor.” You can see the header, content, and footer. Use the structure panel to select and edit different containers and widgets. This allows you to customize headings, text, and images.
Step 8: Customizing Widgets
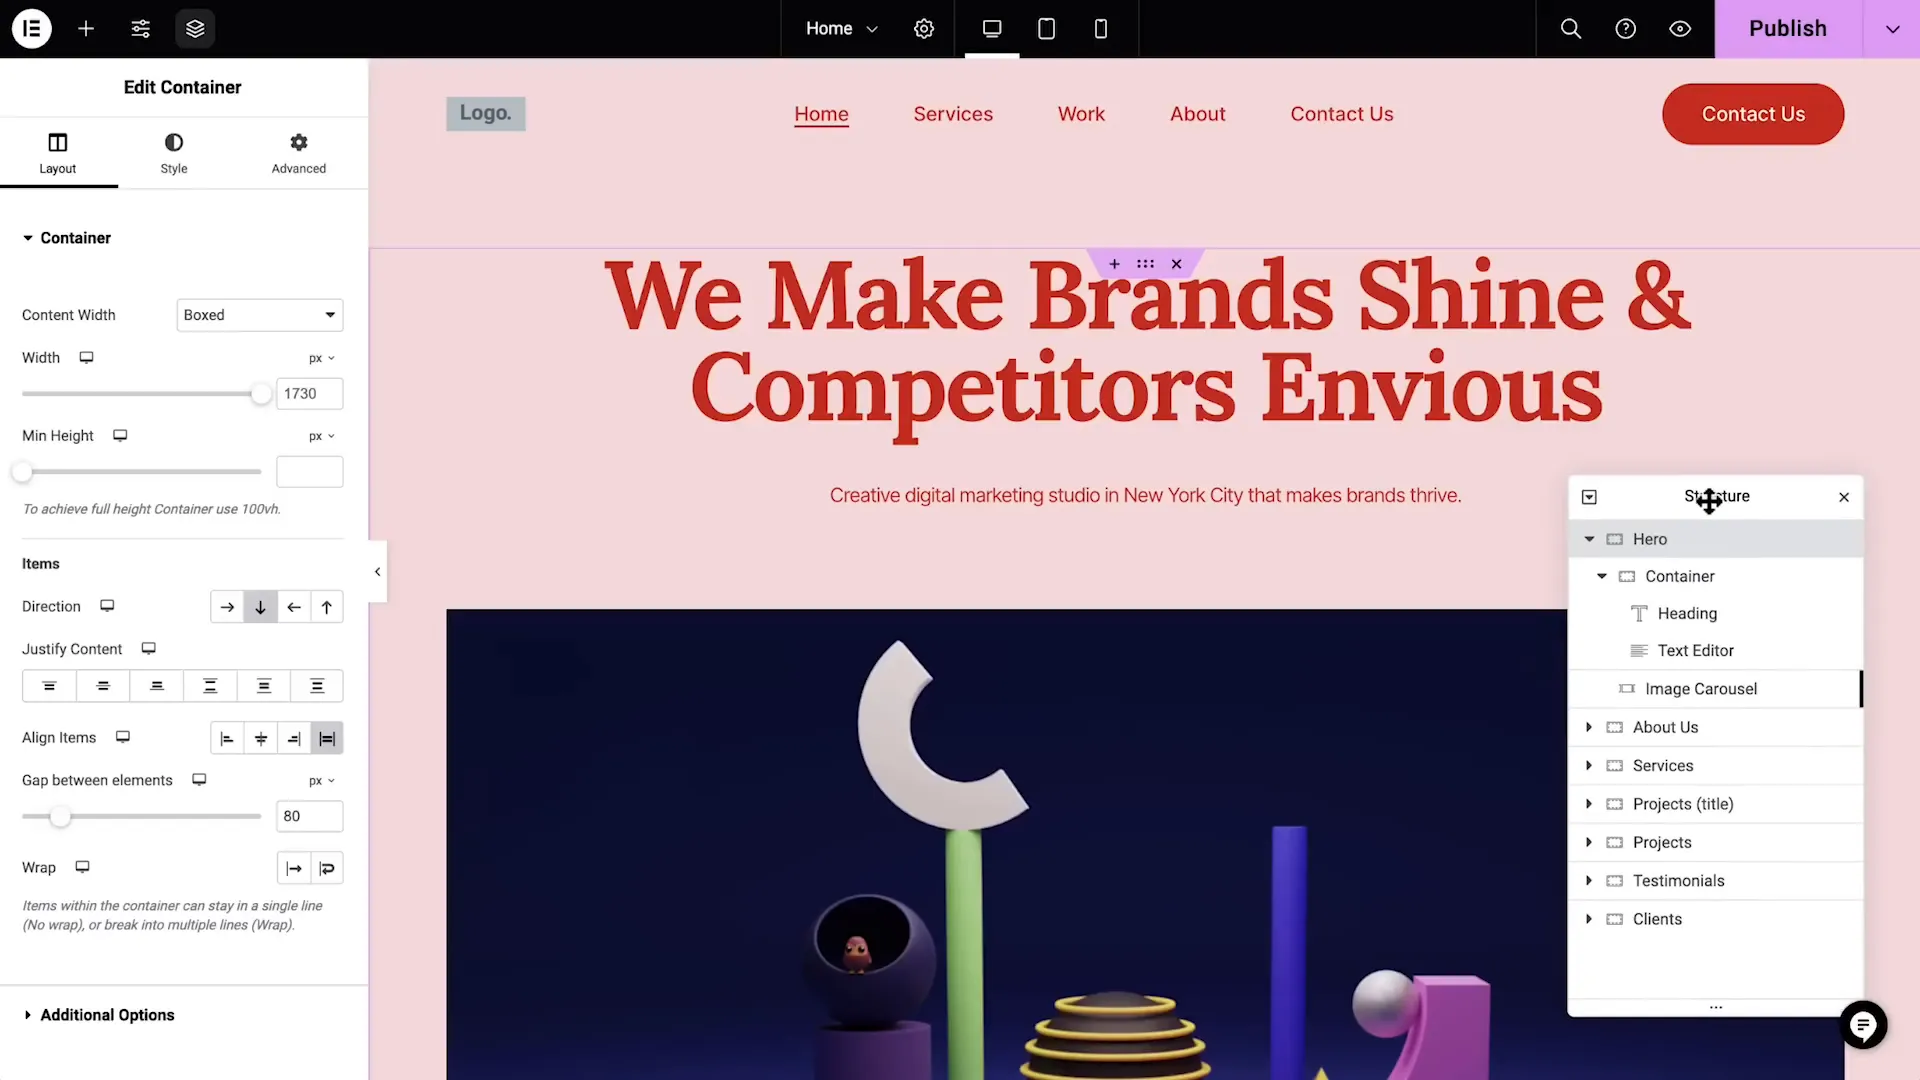
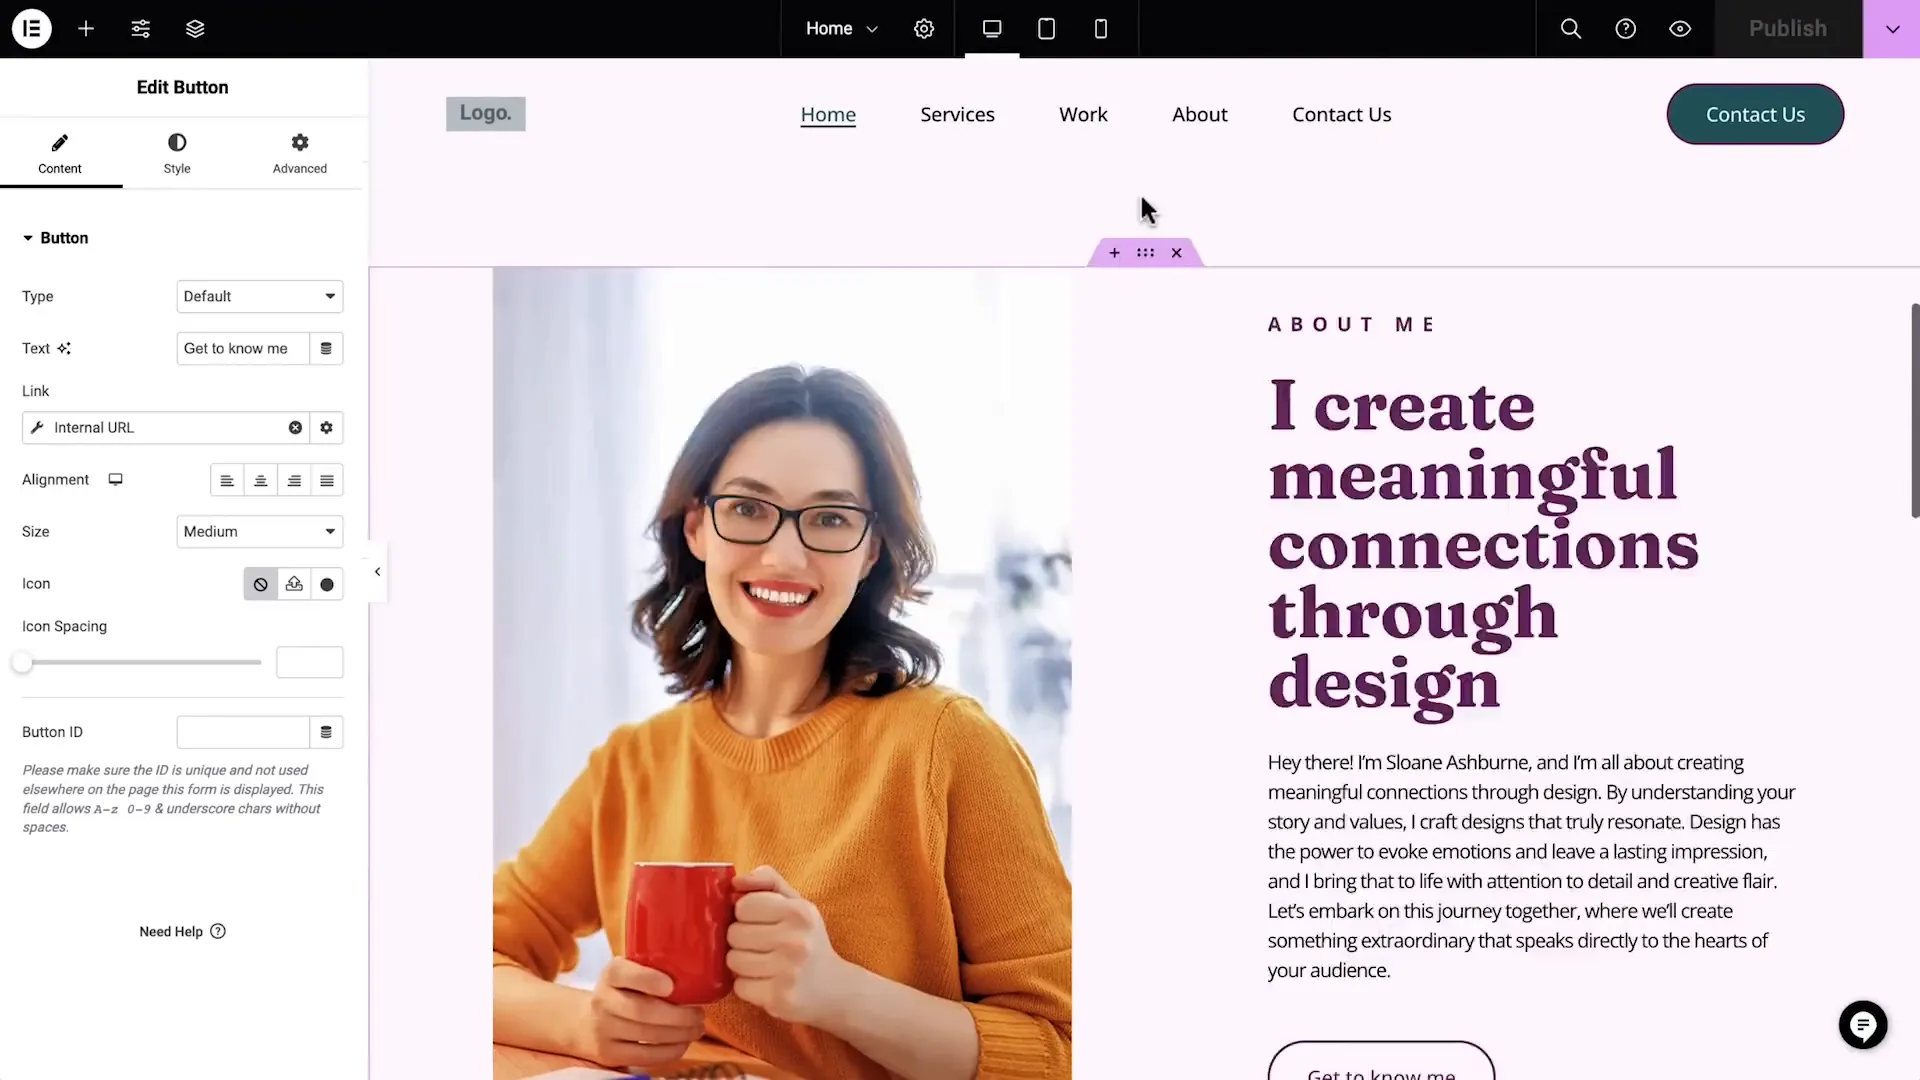
To edit widgets, click on the desired widget in the left panel. Each widget has three tabs: Content, Style, and Advanced. For example, you can add a title in the Heading widget and customize its style using global styles.
Step 9: Adding and Managing Widgets
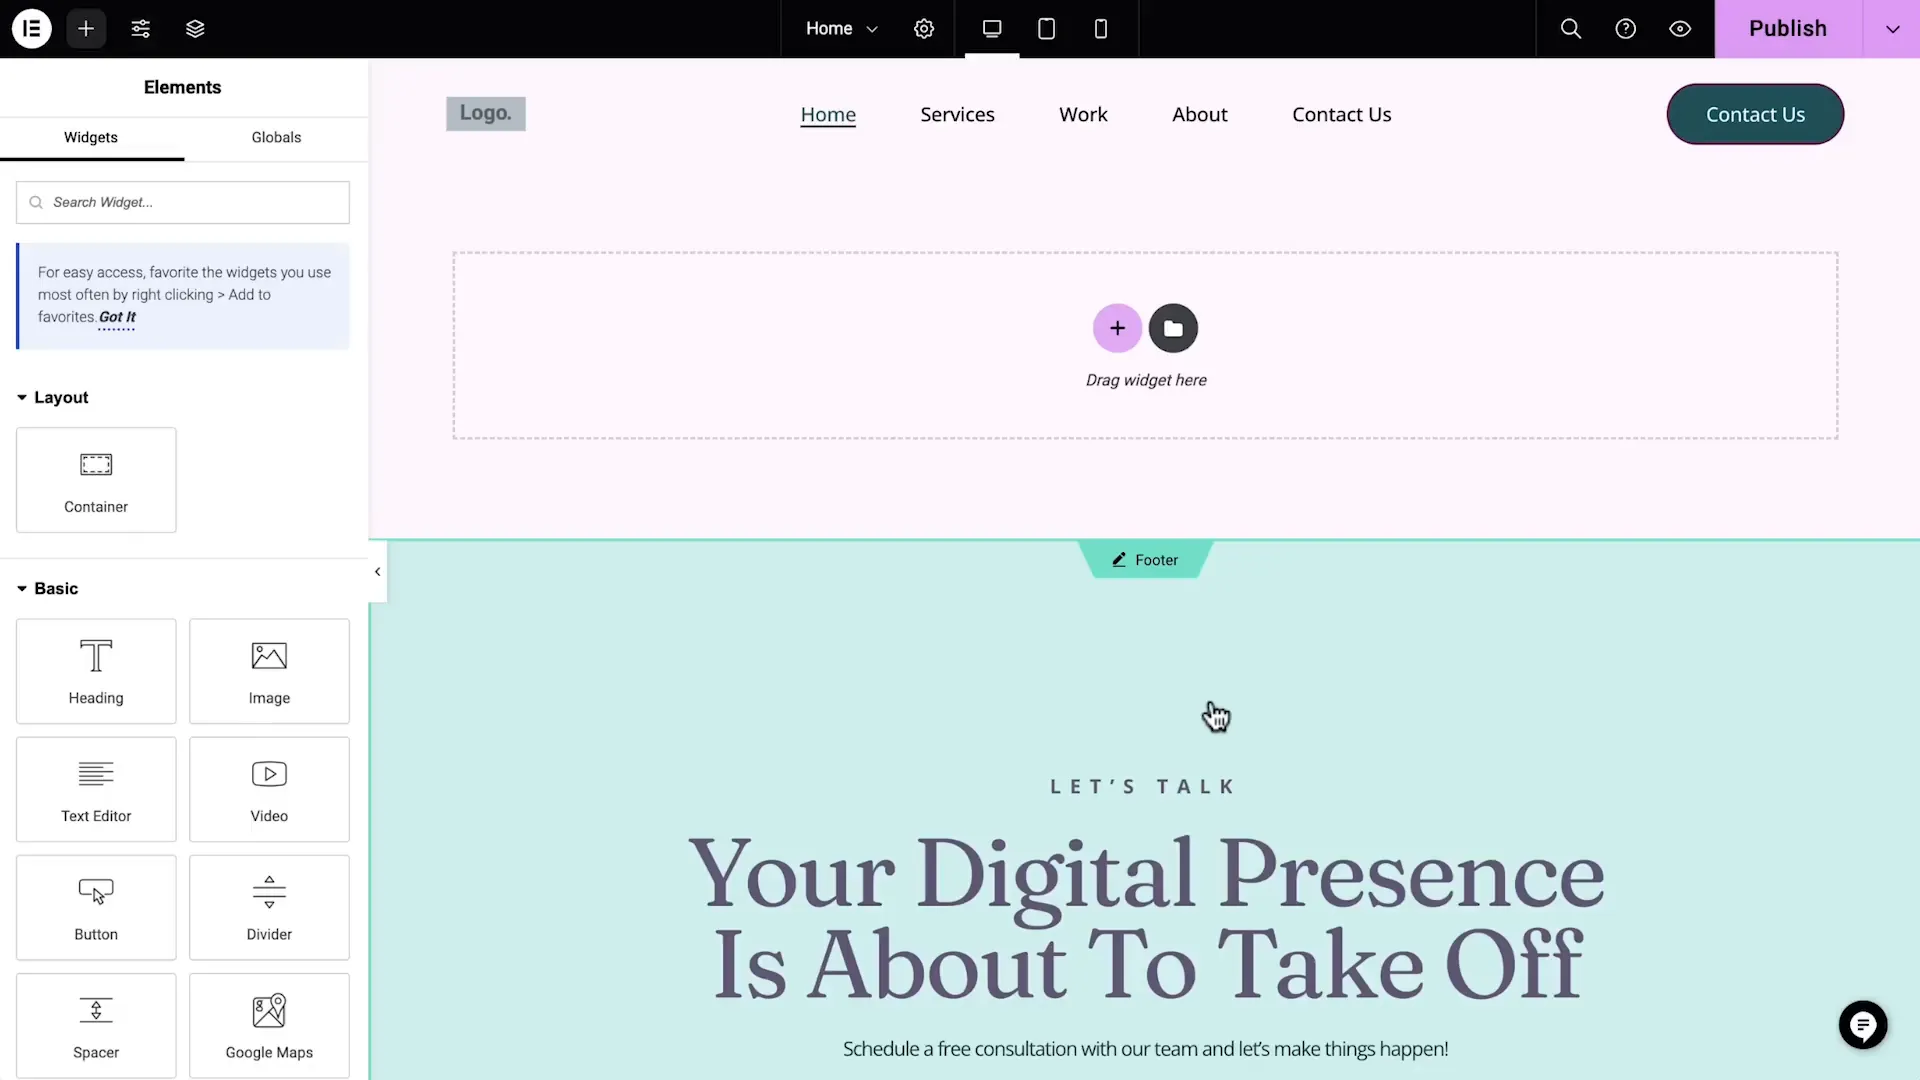
To add a new widget, simply drag it from the left panel to your canvas. You can replace existing widgets, such as swapping an image carousel for a portfolio widget. Each widget can pull in dynamic content from your posts or custom entries.
Step 10: Responsive Editing
Elementor kits come optimized for various devices. Use the responsive options in the top bar to switch between desktop, tablet, and mobile views. Make adjustments to ensure your design looks great on all devices.
Step 11: Editing the Header and Footer
Next, we’ll edit the header and footer. The header is a template that appears at the top of every page. You can customize the logo, navigation menu, and buttons. The footer, similarly, can be edited to include contact information and social links.
Step 12: Creating Posts for Your Portfolio
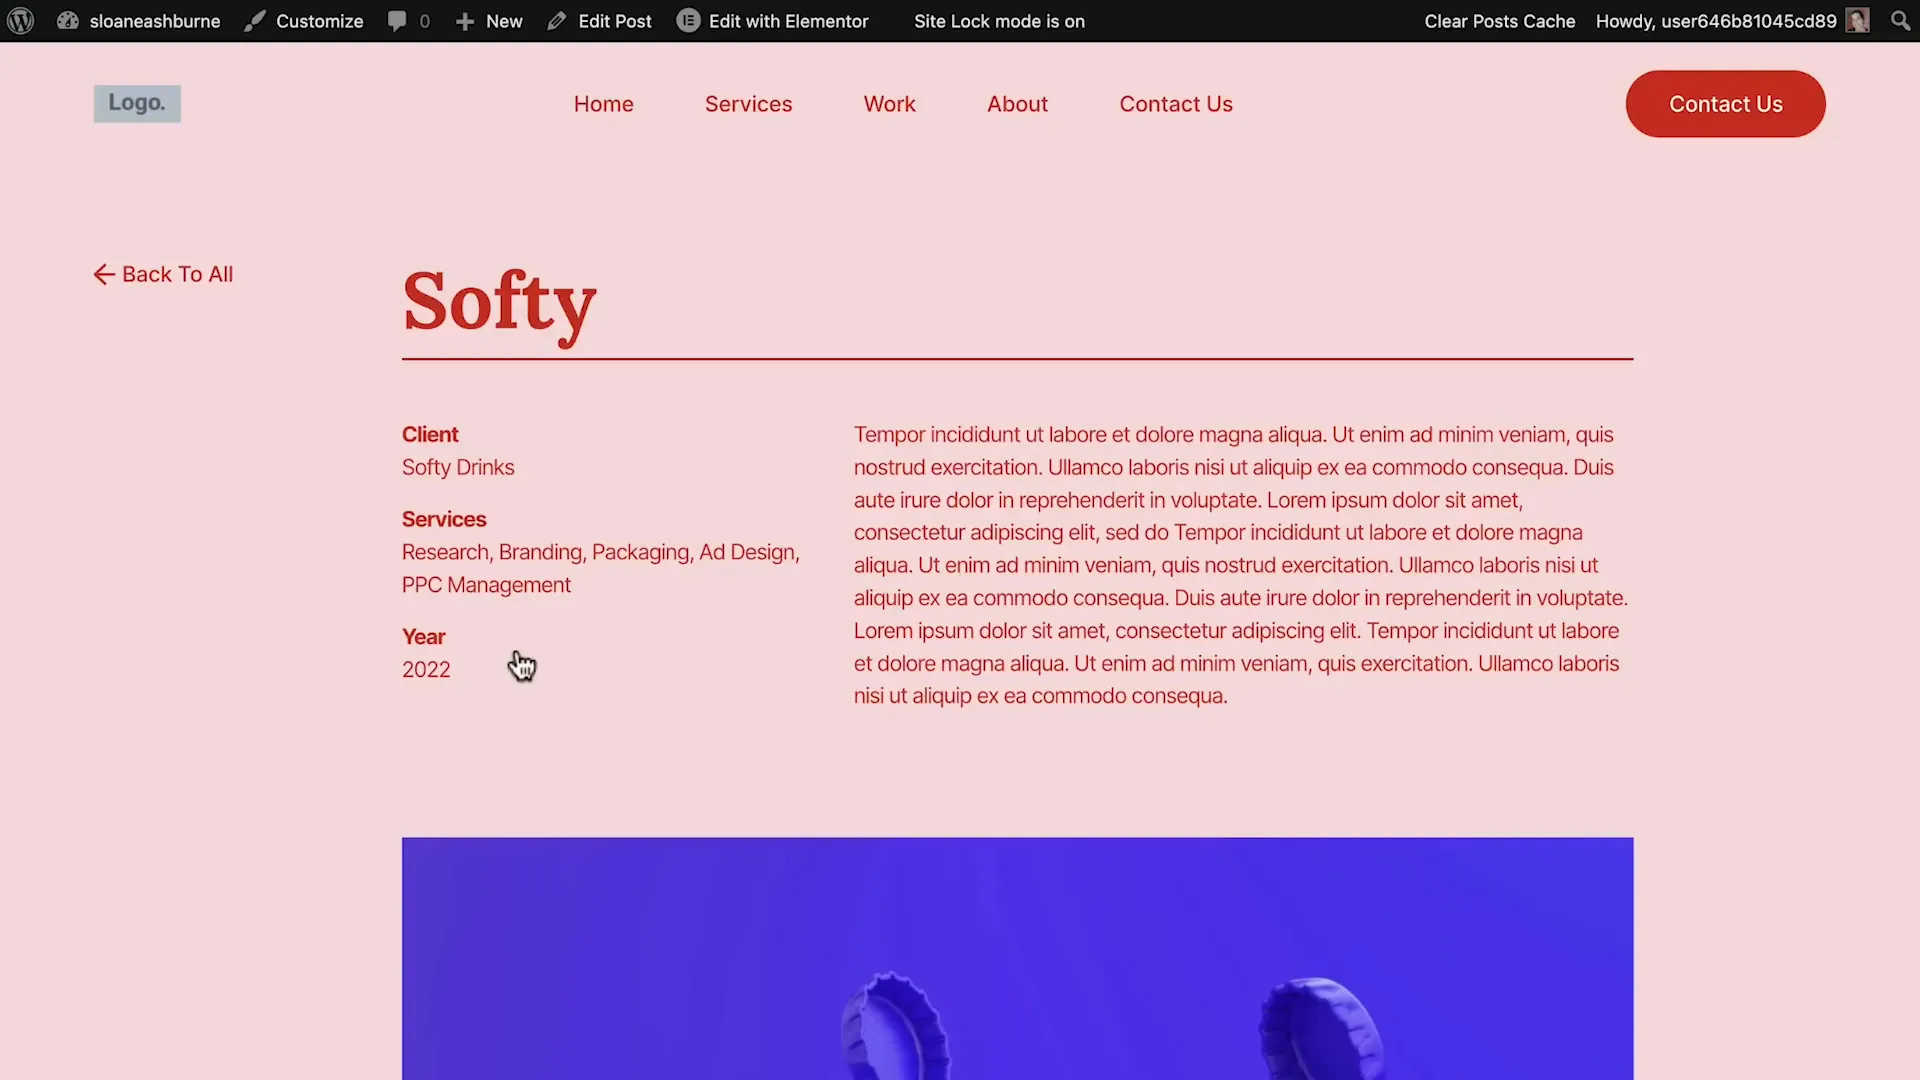
Now, let’s add content to your portfolio. Go to the “Posts” section in the WordPress dashboard. Here, you can edit placeholder posts or create new ones. Use either the Gutenberg editor for a simplified approach or the Elementor editor for more customization.
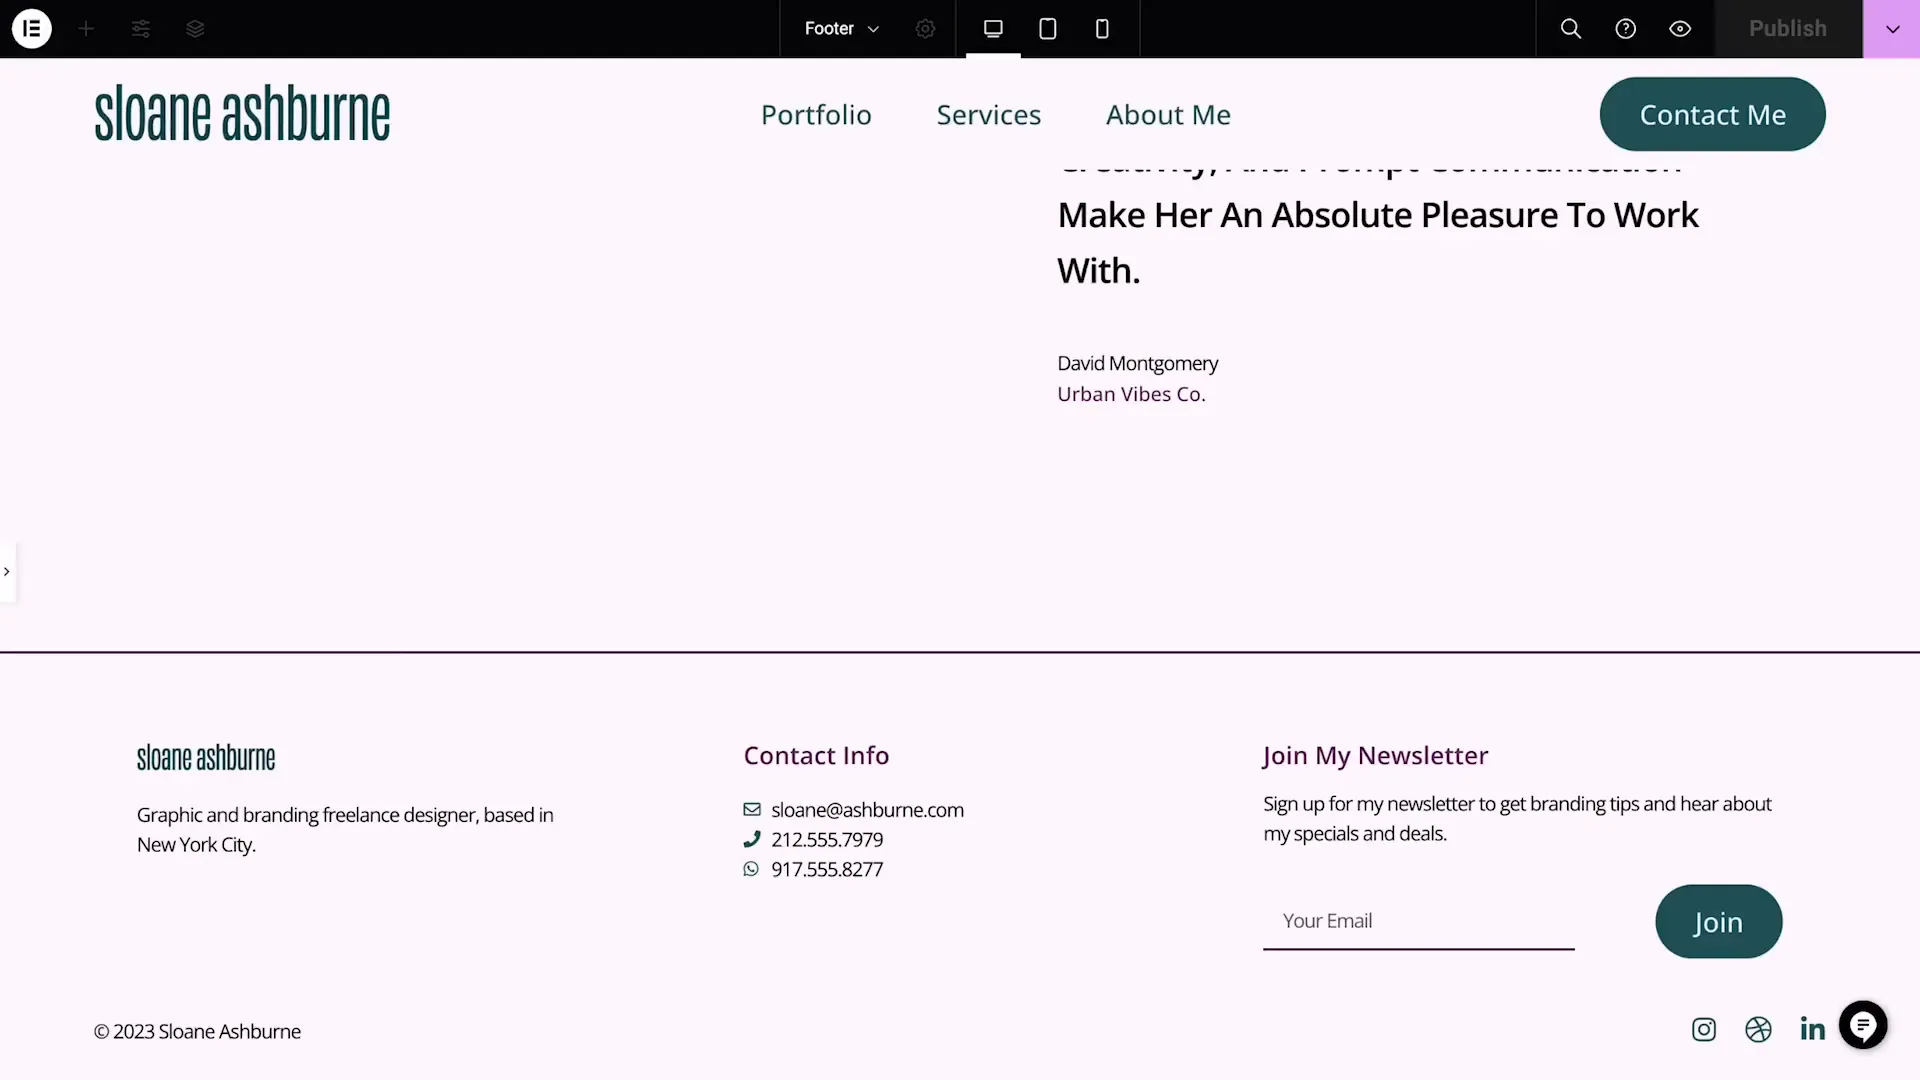
Step 13: Setting Up Your Portfolio Page
To set up the portfolio page, go to “Pages,” rename the work page to portfolio, and edit it with Elementor. Add the posts widget to display your projects and customize it using layout options available in the style tab.
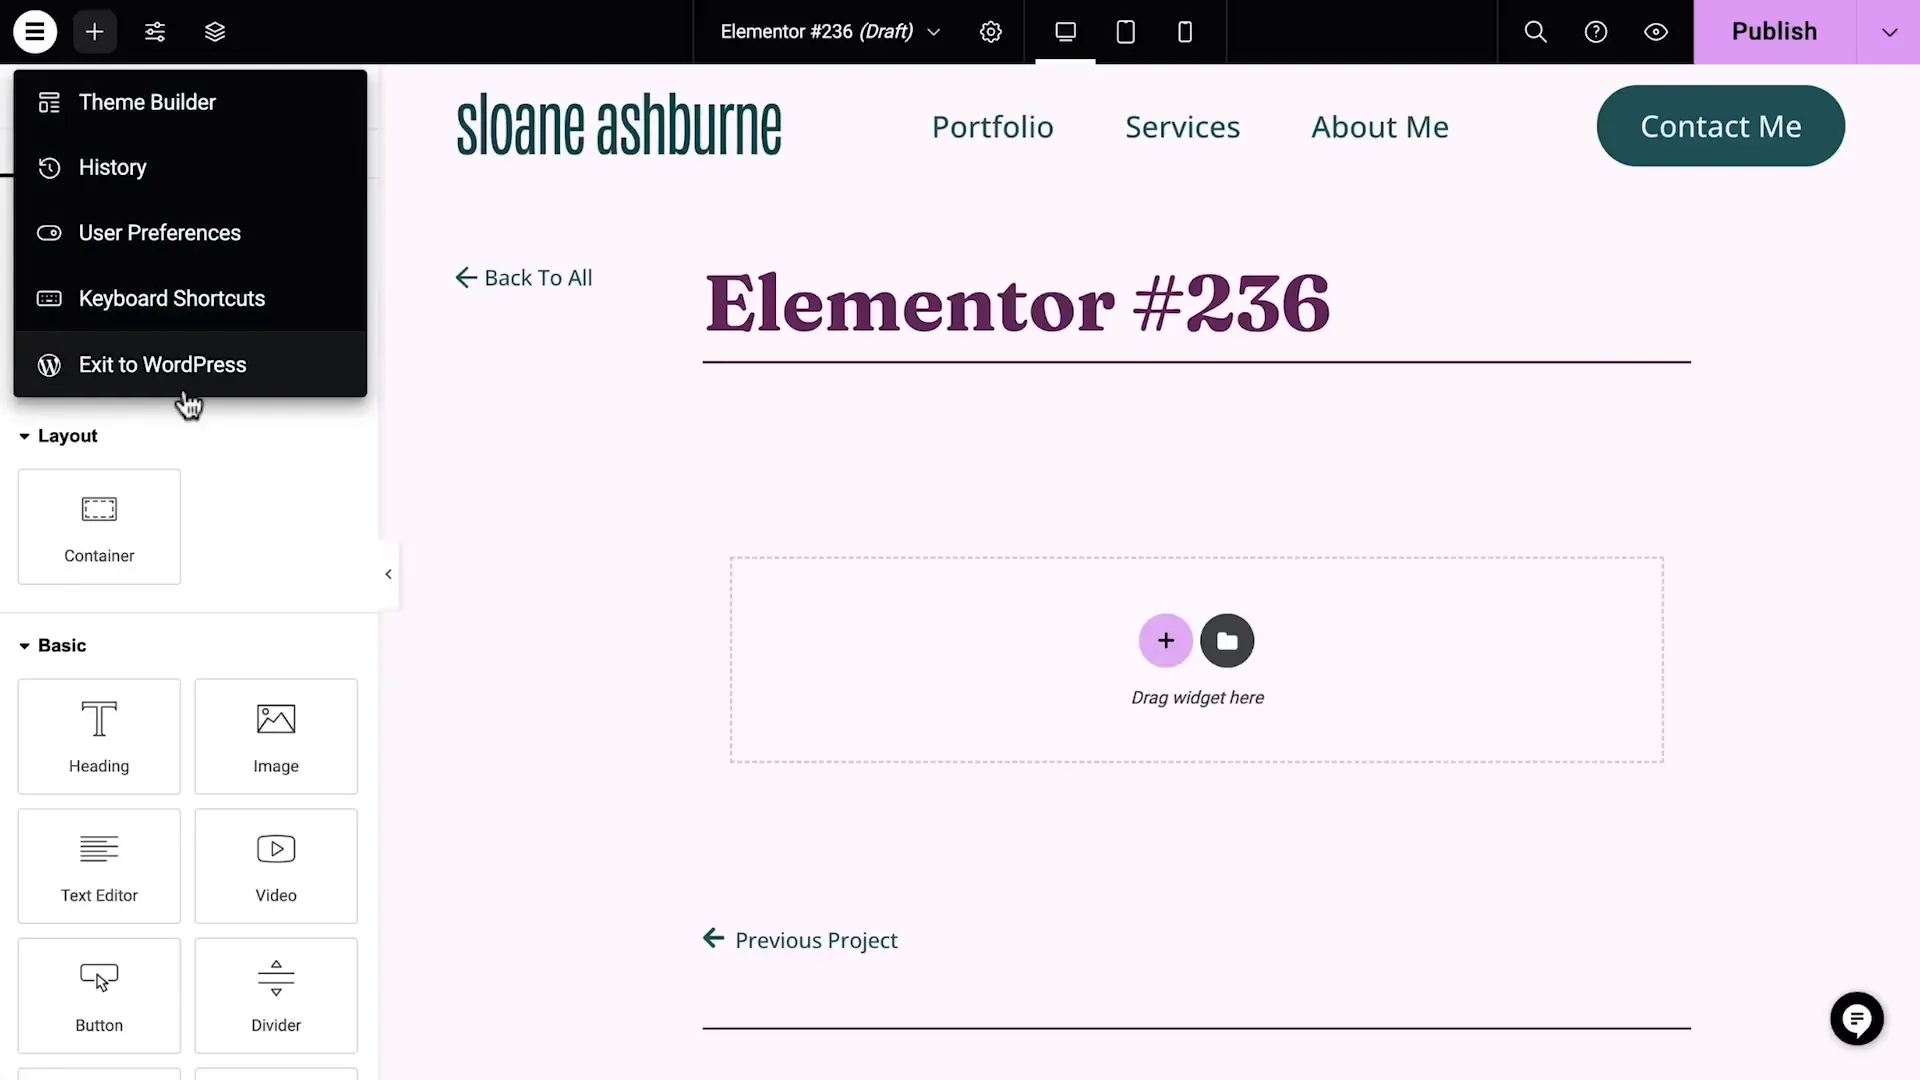
Step 14: Finalizing Your Website
Before going live, ensure your website is complete and functioning as desired. Check all pages, links, and widgets. Once satisfied, it’s time to connect a custom domain and take your site live.
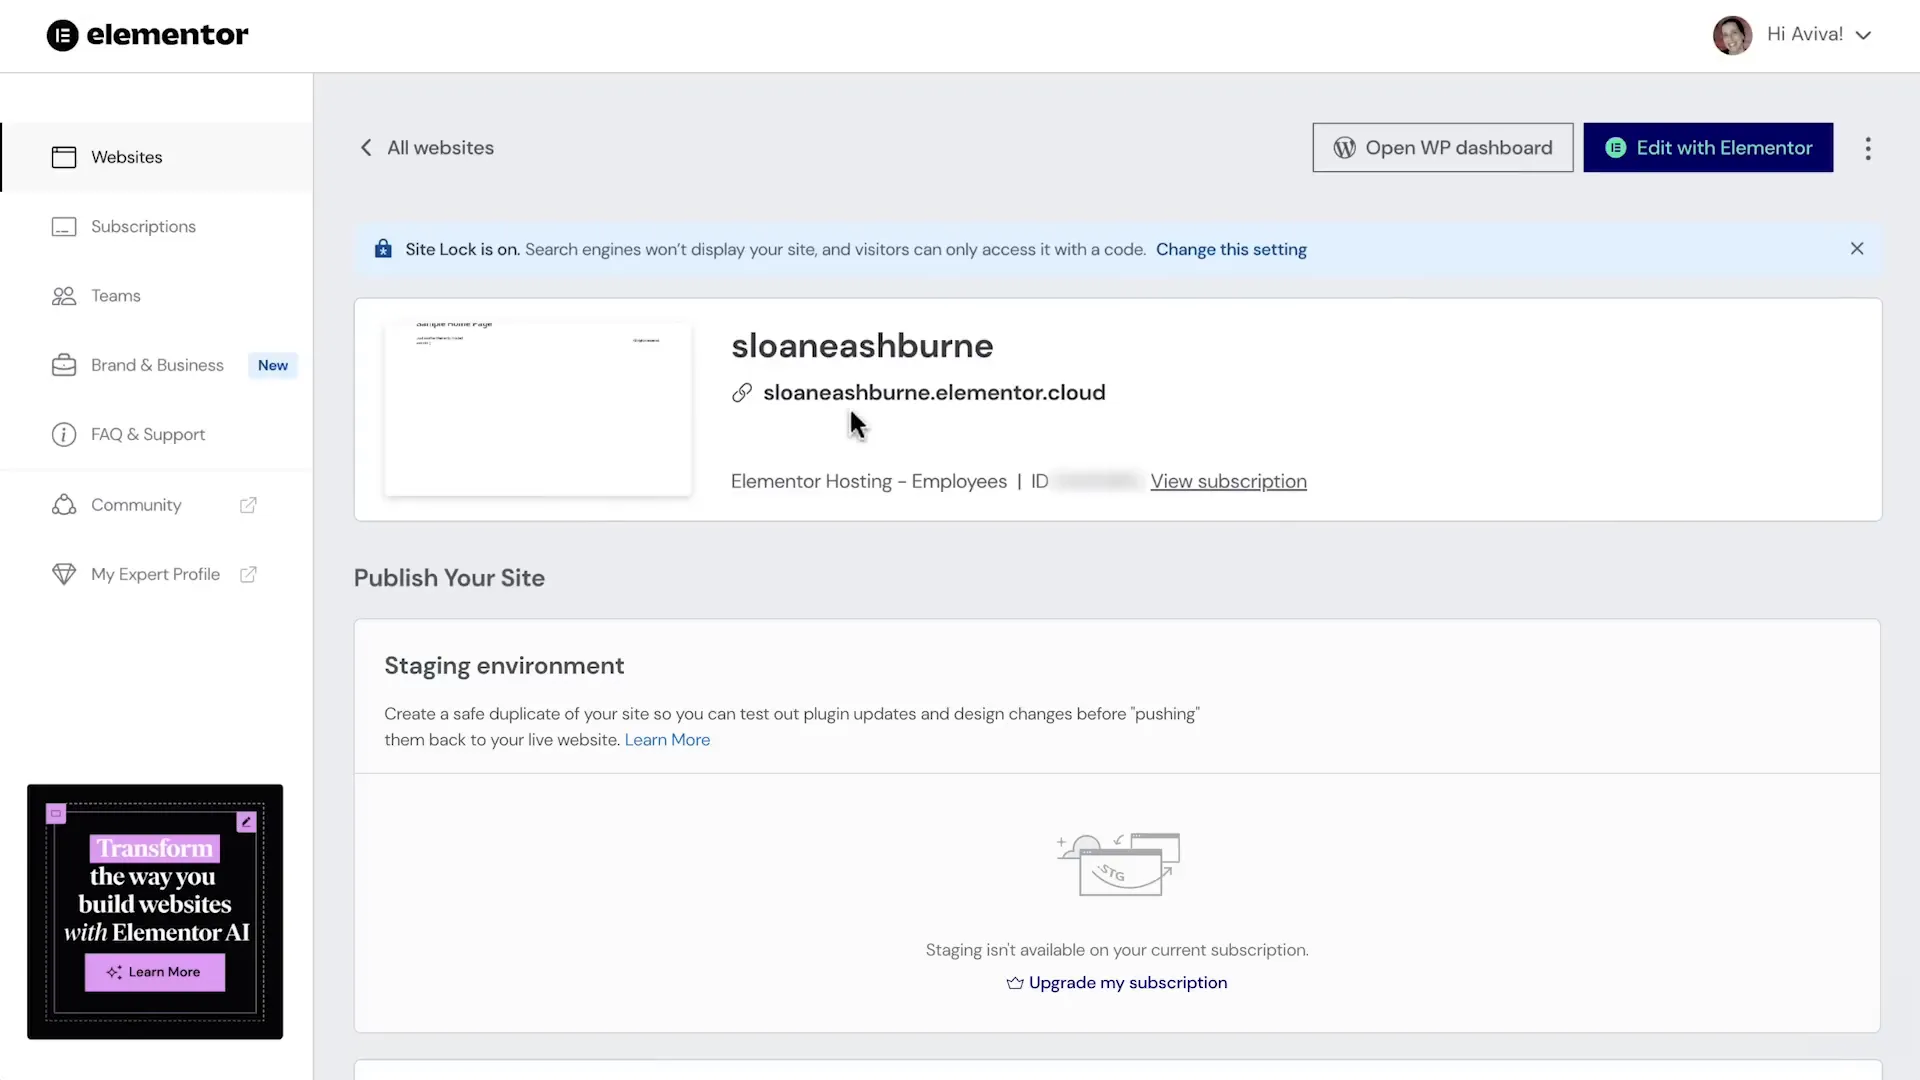
Step 15: Managing Your Elementor Account and Hosting Settings
Navigate to your Elementor account dashboard. Here, you can manage your hosting settings, connect a custom domain, and set up backups. This ensures your website is secure and backed up regularly.
Congratulations! You now have the knowledge and tools needed to create your first WordPress website using Elementor Hosting. Feel free to explore further and customize your site to fit your unique style and needs.
You can also checkout this similar video
Disclosure: We may earn commission for purchases that are made by visitors on this site at no additional cost on your end. All information is for educational purposes and is not intended for financial advice. Read our affiliate disclosure.


